The Hivemind: Full Five-Player Walkthrough
The Hivemind is a flying jellyfish with a brain on top, and the only mount in WoW that five players earn together and can ride at once. Getting it means collecting four crystal monocles across old content, then a series of group puzzles in Suramar.
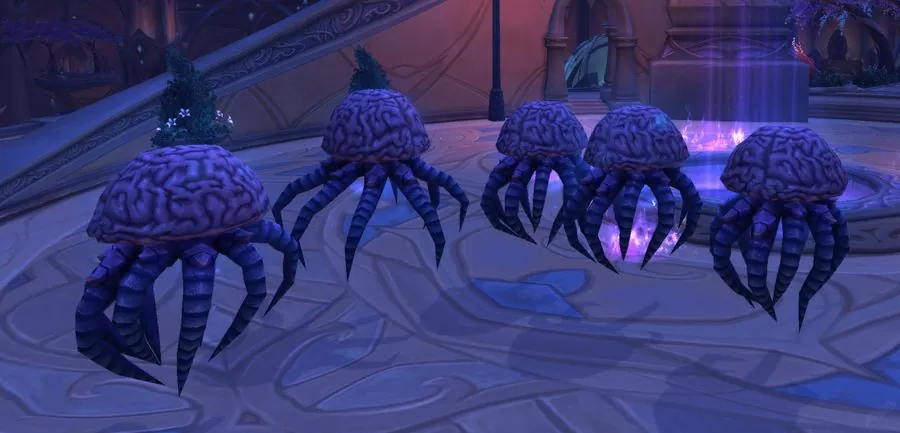
- TypeMount
- ExpansionBattle for Azeroth
You don't need all four monocles yourself, but each person in the final group should bring at least one, and the group needs all four colours between them. Keep the Talisman of True Treasure Tracking equipped for every step from here on.
The start: Griftah's talisman
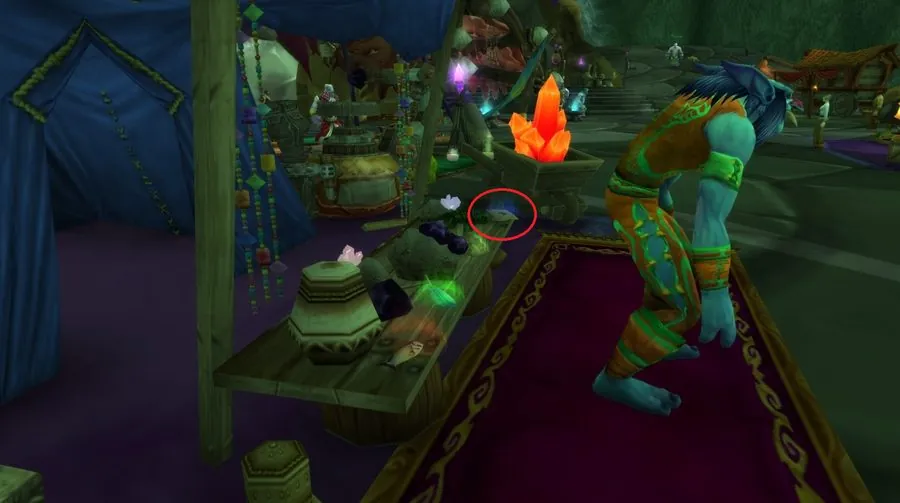
Buy the talisman from Griftah in Shattrath's Lower City (65.6, 69.3) and put it on. Four objects behind him start to glow, one for each monocle: a red fish (Vashj'ir), a yellow pyramid (Halls of Origination), a green feather (Skyreach) and a blue letter, which is the only one you can click and starts the letter chain.
Red Crystal Monocle: the Vashj'ir barter chain
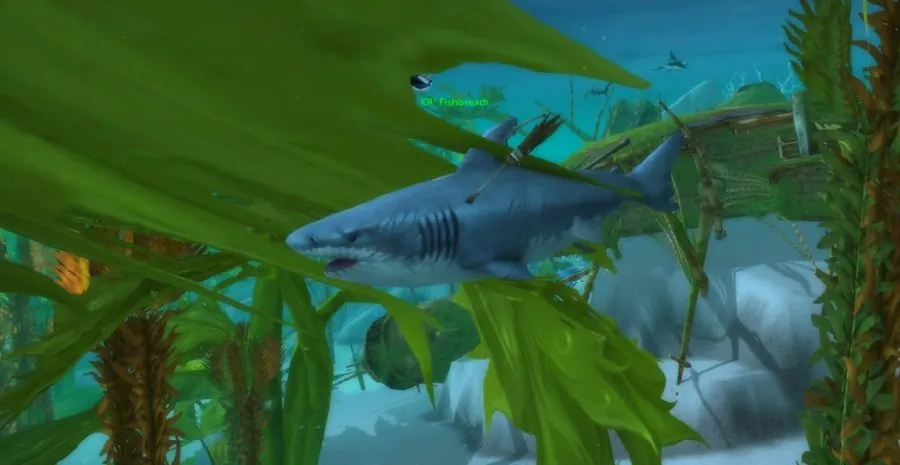
With the talisman on, nine sea creatures across Vashj'ir become traders. None of them take gold except Sir Finley Mrrgglton, who sells Seashells and, at the end, the monocle itself.
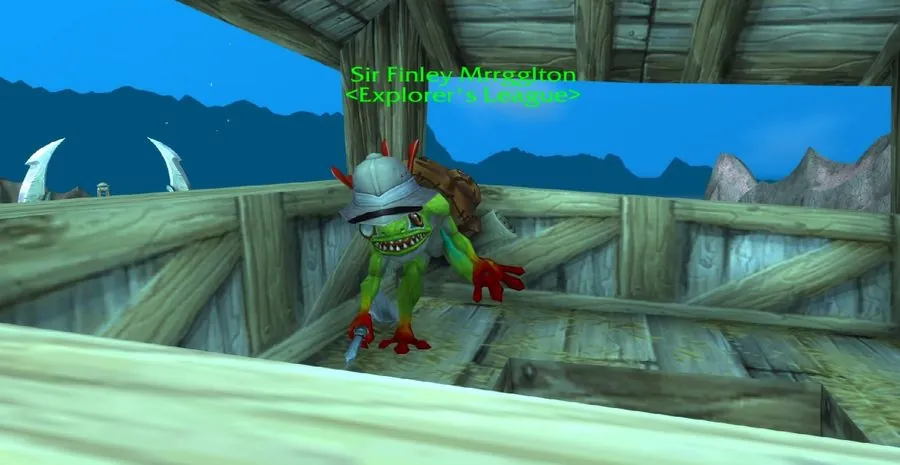
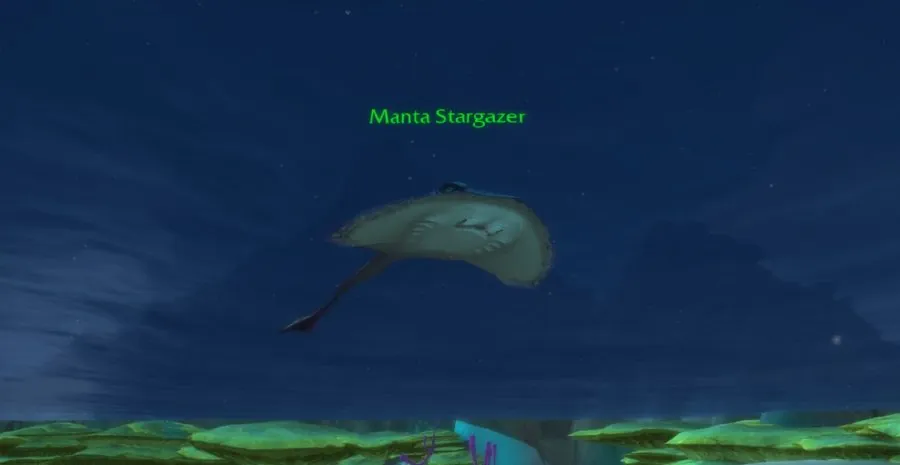
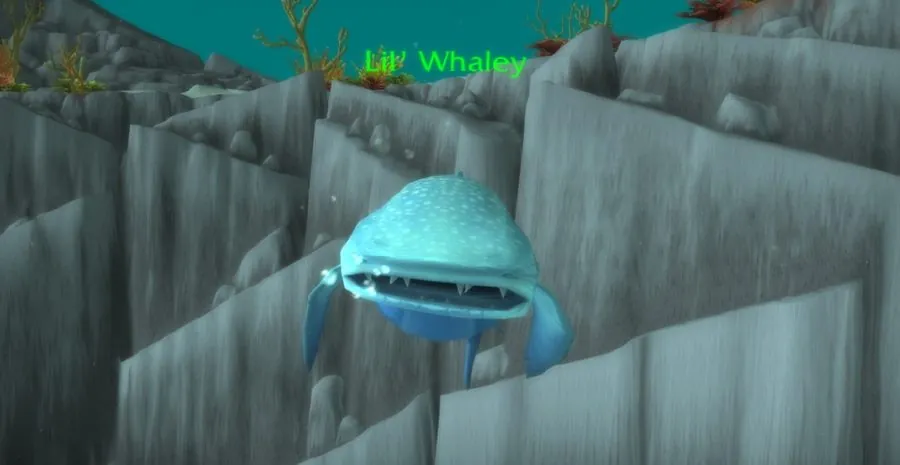
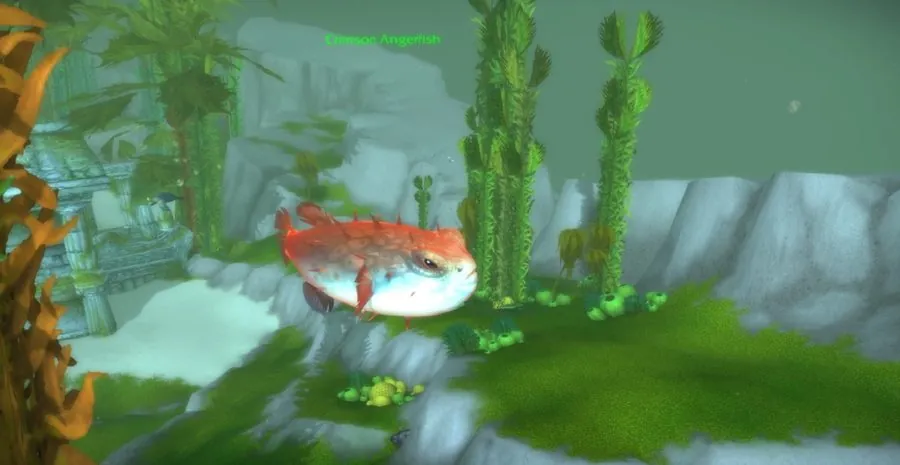
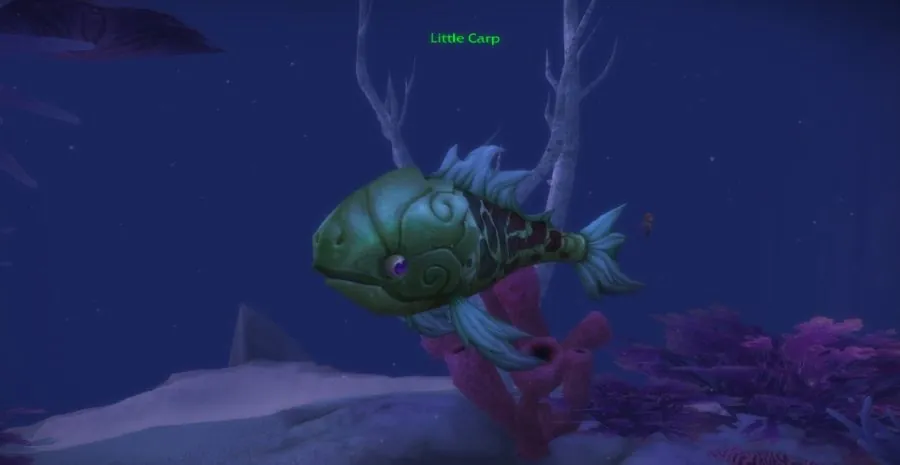
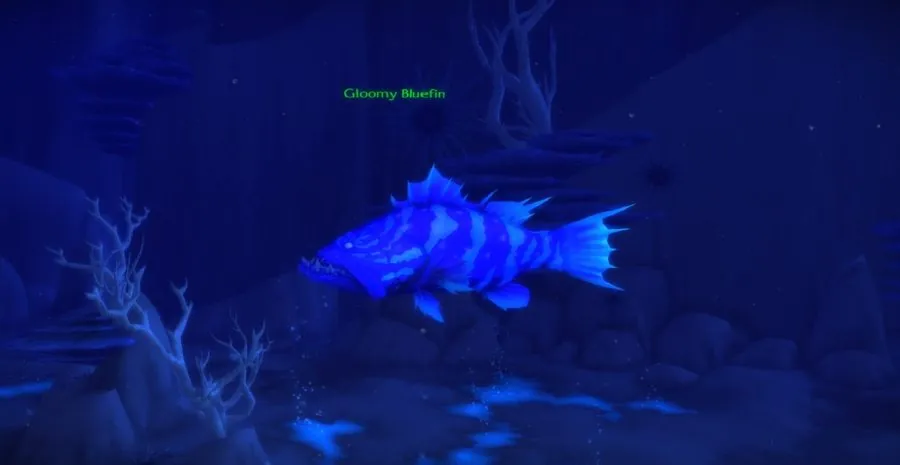
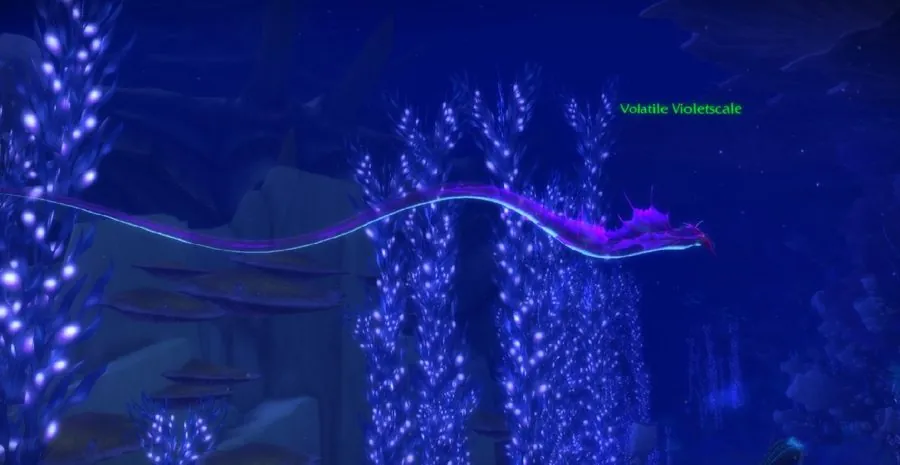
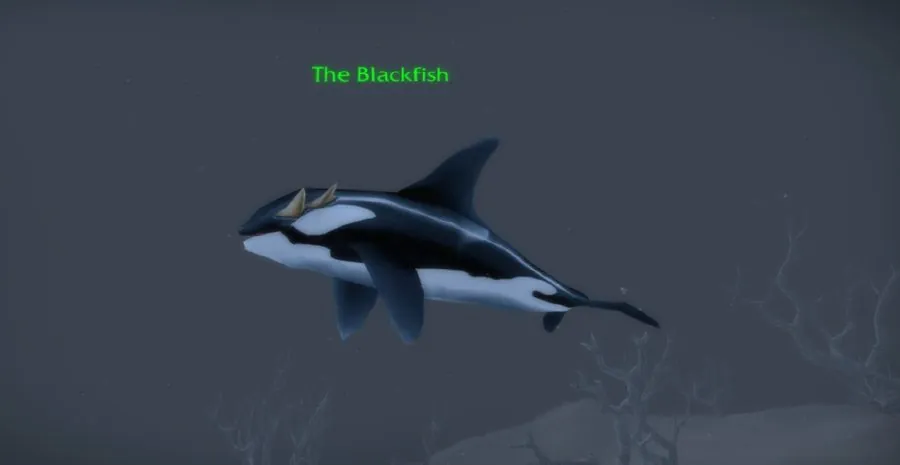
Traded goods spoil: common ones last five minutes, uncommon ones thirty and rare ones an hour, so finish each chain in one go. The monocle costs 5 Scintillating Murloc Skin Lotion, 5 Potent Gastropod Gloop and 5 Captured Cavitation Bubbles, about 2,400 gold in Seashells altogether. The order that works:
- Symbiotic Plankton (40): buy 80 Seashells from Finley, 2 Giant Giant Toenail Clippings from Gloomy Bluefin, trade them to Little Carp for 4 Makrura Eyes, those to Volatile Violetscale for a Seahorse Fin, the fin to Crimson Angerfish for 3 Shiny Sea Serpent Scales, and 2 scales to Manta Stargazer for the plankton.
- Glittergill Glitter (50): buy 500 Seashells, trade them to Volatile Violetscale for 100 shark teeth, then to Manta Stargazer for 50 Razoreel Larvae, to Lil' Whaley for 250 Well-Fed Doctor Fish, and to Ol' Fishbreath for the glitter.
- Back at Finley, trade the glitter and plankton for 5 Scintillating Murloc Skin Lotion.
- Captured Cavitation Bubbles (5): buy 1,500 Seashells, get 300 Very Pretty Coral from Lil' Whaley, trade to Ol' Fishbreath for 100 Iridescent Shimmerray Skin, to Crimson Angerfish for 20 Luxscale Scales, and to The Blackfish for the bubbles.
- Potent Gastropod Gloop (5): buy 300 Seashells, get 30 Vantus Black Squid Ink from Ol' Fishbreath, trade to The Blackfish for Super Slick Eel Slime, to Volatile Violetscale for 3 Rock-Encrusted Whelk Shells and to Little Carp for the gloop.
- Buy the Red Crystal Monocle from Finley.
Yellow Crystal Monocle: Halls of Origination
Past the first boss, take the open staircase north of the big elevator down to the lower level. With the talisman on, you can use the Stellar Refraction Device there.
The puzzle is a board of constellations and three kinds of refractor. The angular refractor changes the stars north, south, east and west of it, the jagged one changes the diagonals and the round one changes everything around it. Colours always cycle in the same order. Some constellations can't be changed: work out their colour and turn everything else to match. Every board is random, so there's no fixed solution.
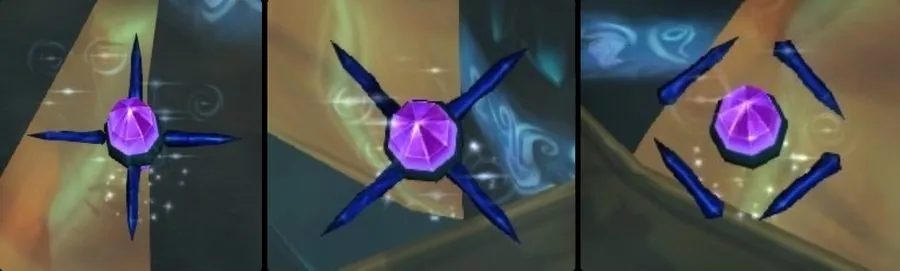
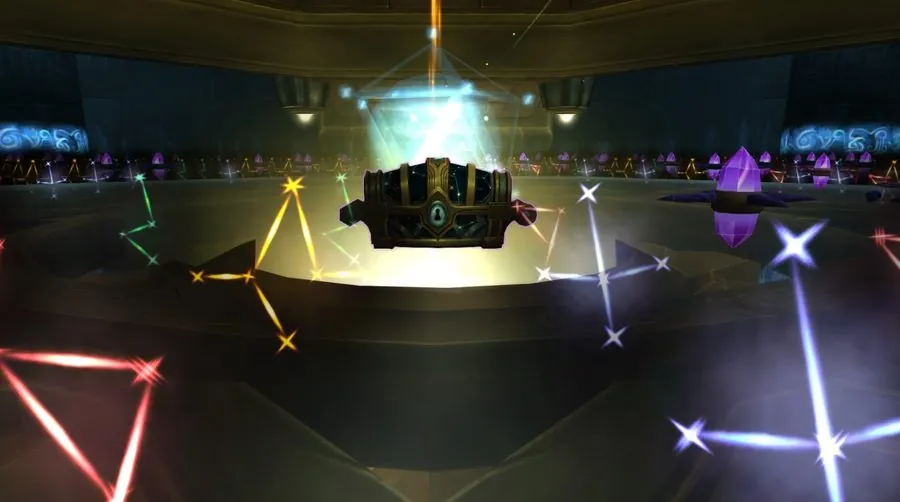
Loot the chest that appears on the device, carefully. Clicking the device again by mistake resets the puzzle and removes the chest.
Green Crystal Monocle: Skyreach
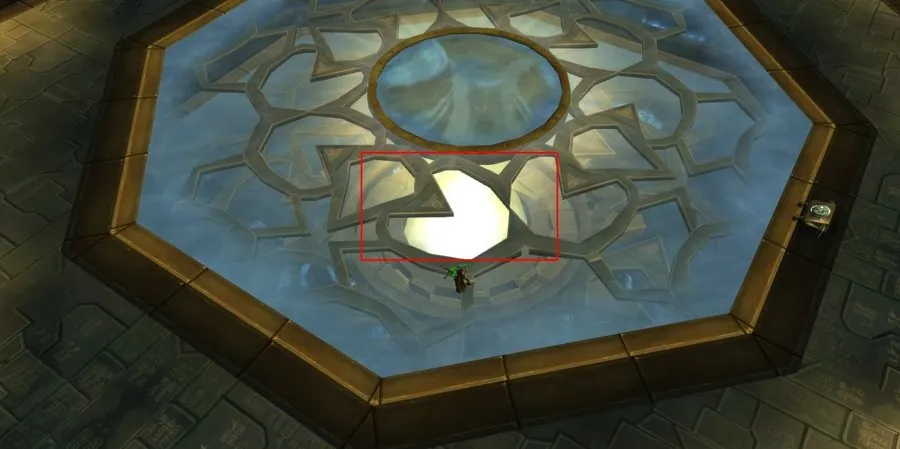
Defeat High Sage Viryx at the end of Skyreach. Behind her, with the talisman on, you'll find a console and a page of "Basic" Instructions.
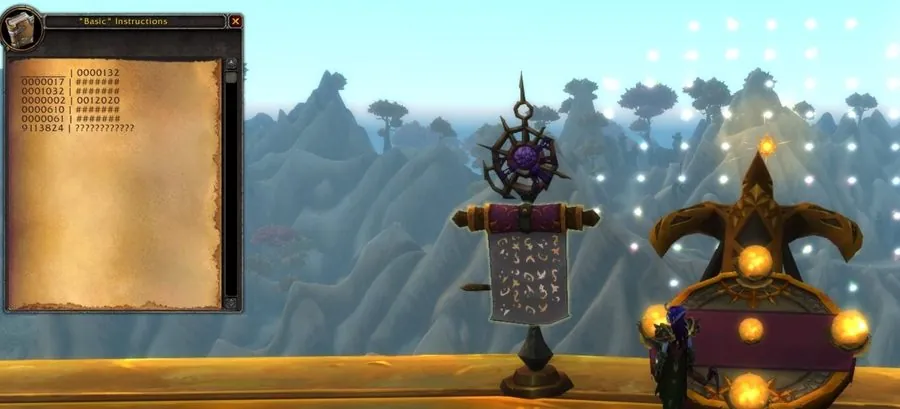
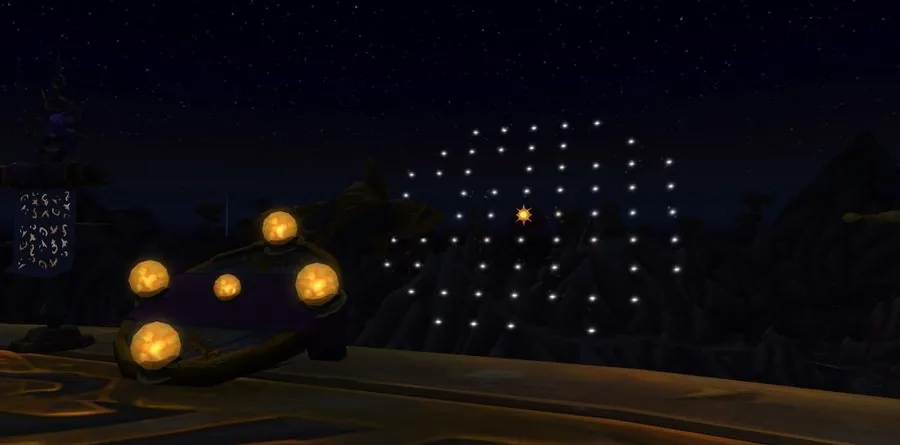
The console moves a glowing sun around an octagonal board, using the directional orbs. Click the small orb to start (it also resets), then enter this sequence: right, up, down, up, right, right, up, left, down, up, left, down. The green monocle drops when the last move is made.
Blue Crystal Monocle: the letters from Ms. Graham
The blue branch is a chain of letters. In each one, the capitalised words form an anagram for the next location. The first letter is the one on Griftah's table.
- Prepfoot Compound, Highmountain (57.4, 27.9): "Anticipators of Deathwing".
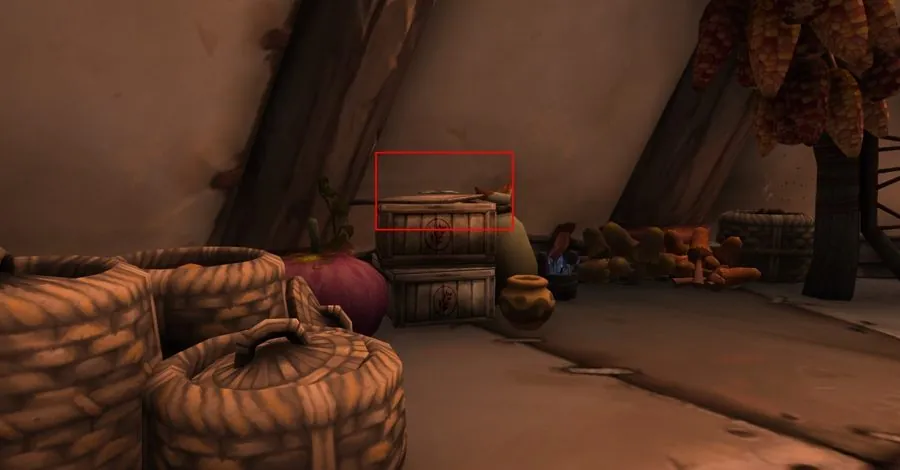
- Karazhan (the original raid): "Seat of the Guardian", by Medivh's chambers after the Chess Event.
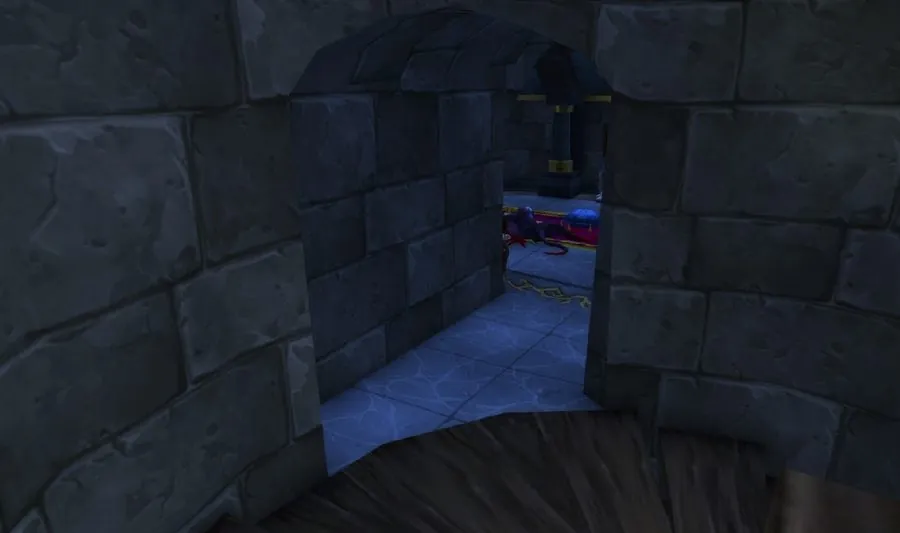
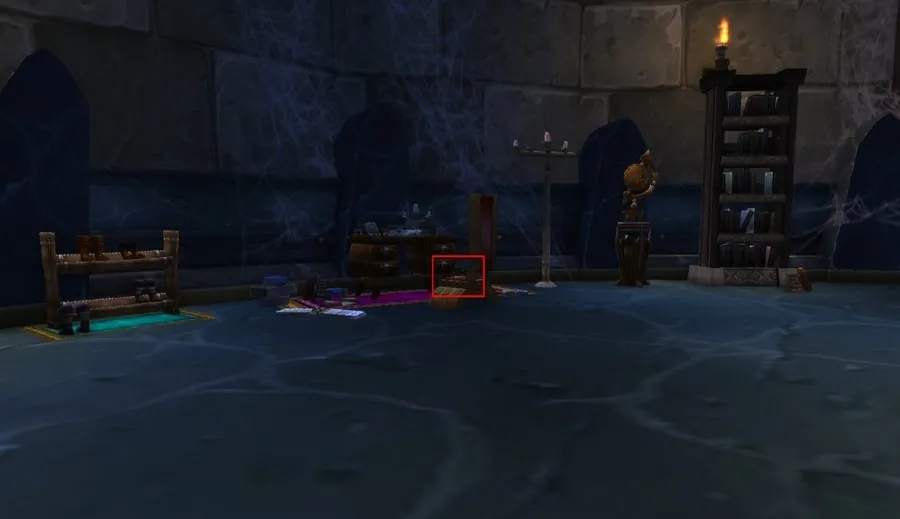
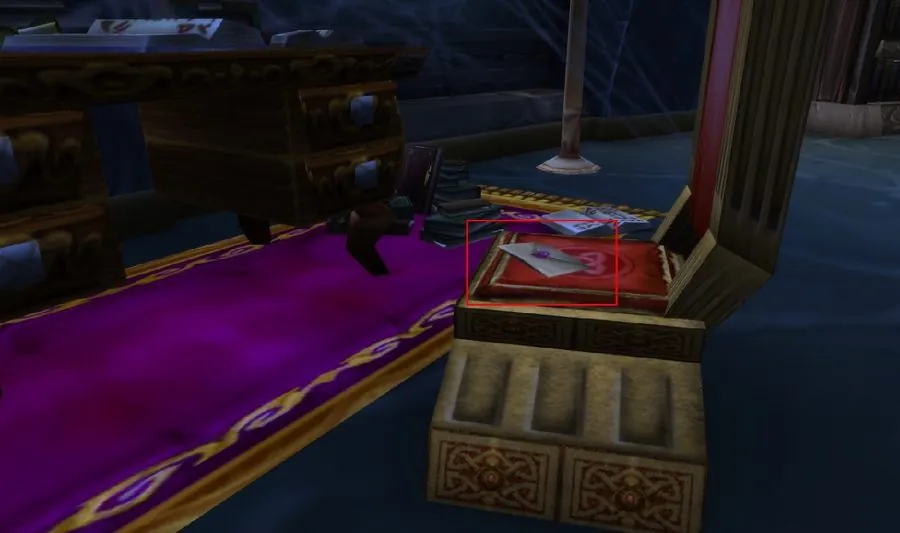
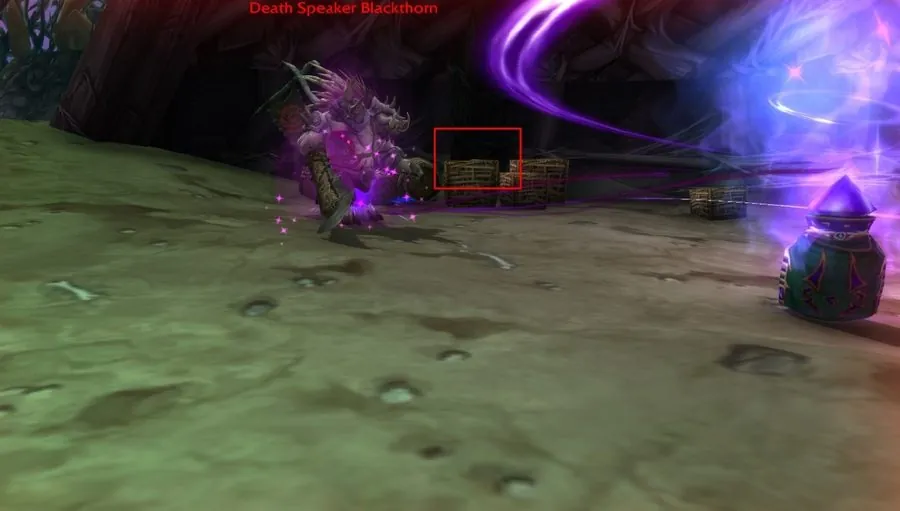
- Razorfen Downs, behind Death Speaker Blackthorn.
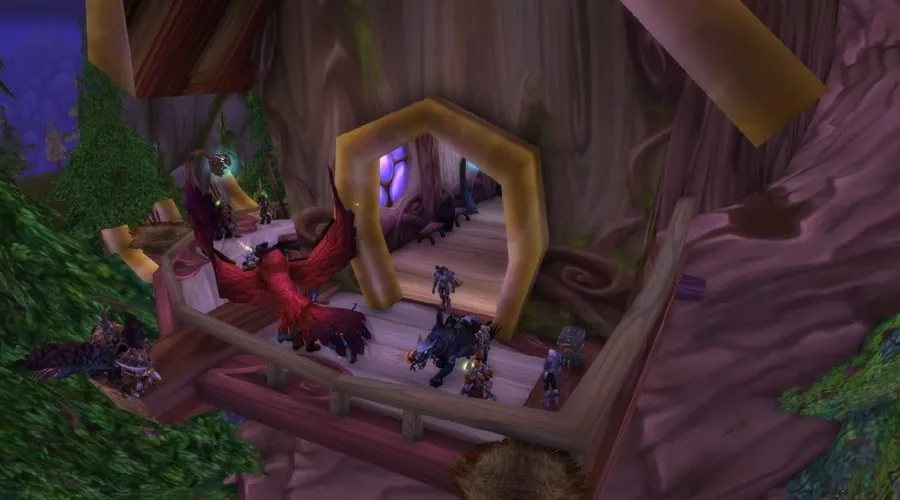
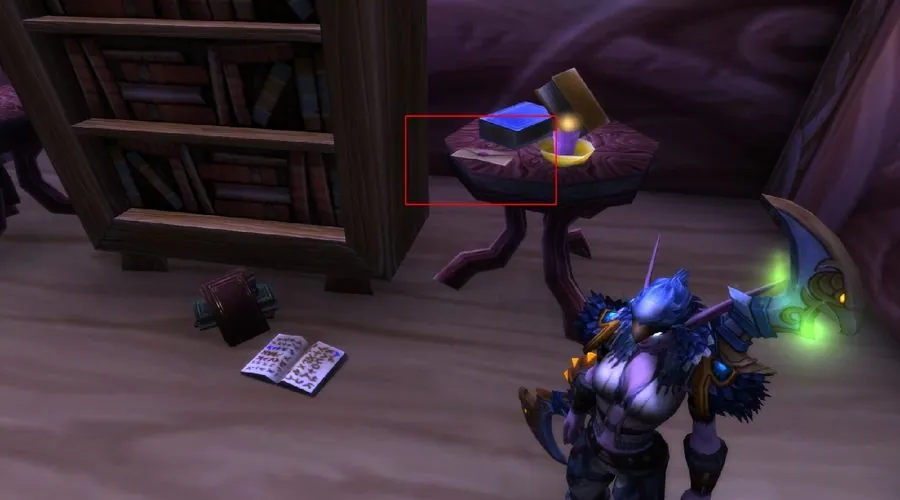
- Shrine of Aviana, Mount Hyjal (44.3, 47.3): "Mistress of the Nest".
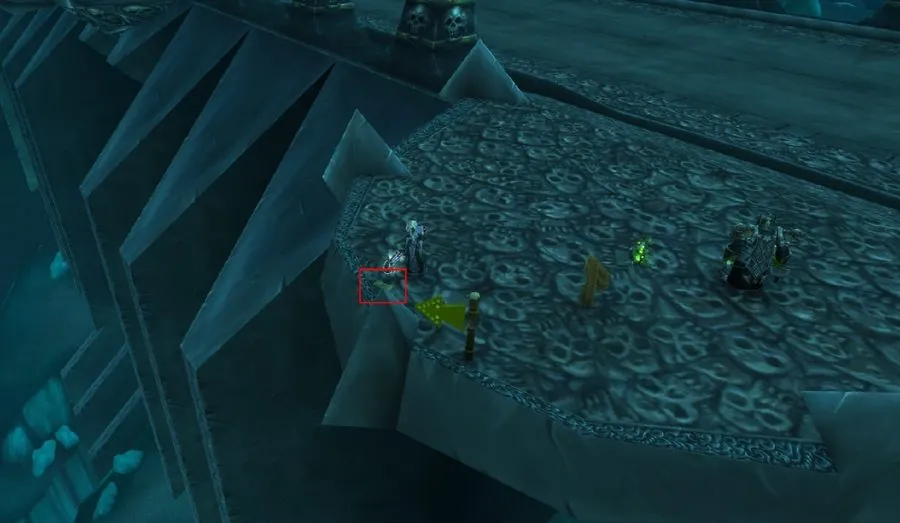
- Ironwall Dam, between Icecrown and Crystalsong Forest (70.8, 73.3): "The Derelict Flow".
- Niuzao Temple, Townlong Steppes (37.7, 63.0): "Ox Residence".
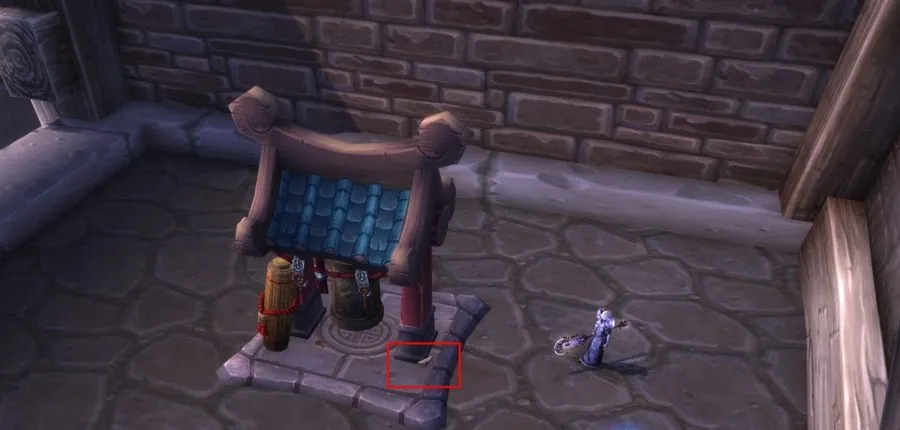
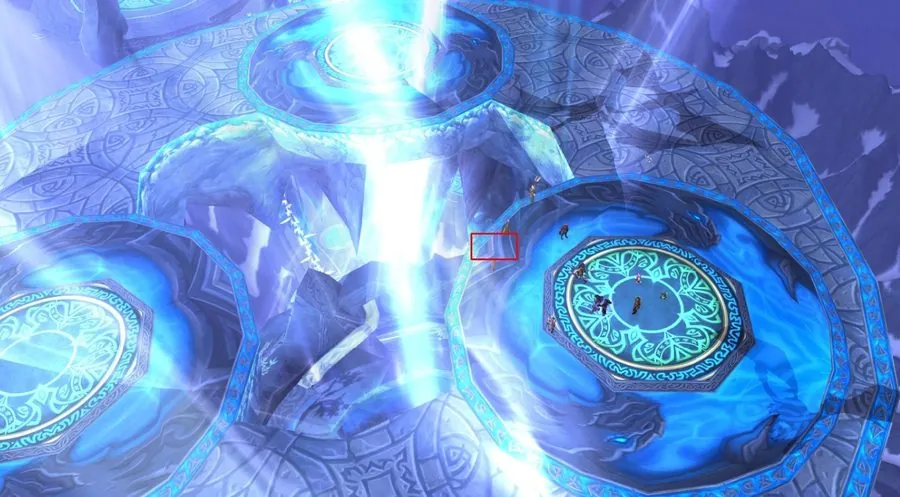
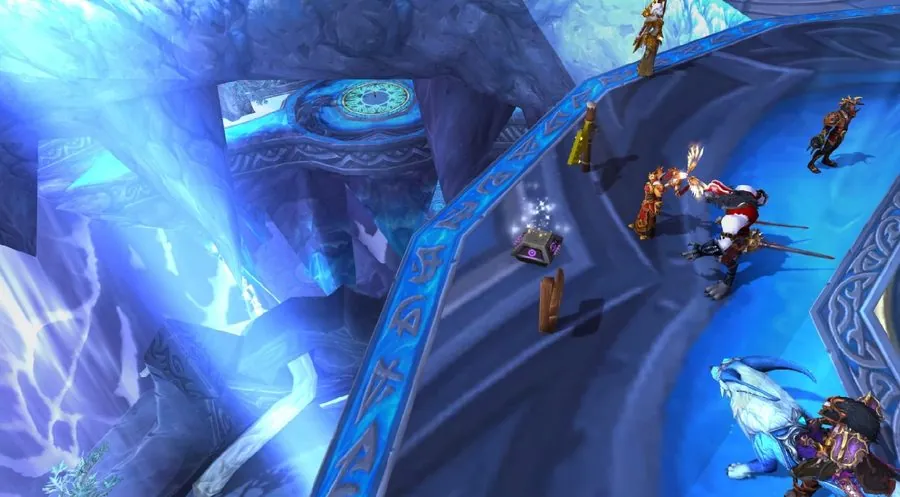
- Coldarra, Borean Tundra (27.6, 27.1): "The pinnacle of magic". The Gift from Ms. Graham waits on the highest ring of the Nexus and holds the Blue Crystal Monocle.
Lost a monocle? Griftah sells replacements to anyone who has earned one the proper way.
The Suramar beams
From here you need all five players, in the same party and with the same War Mode setting. Upstairs in a house in Suramar (41.0, 69.5), a drawer is sealed behind four beams of light: red, blue, green and yellow.
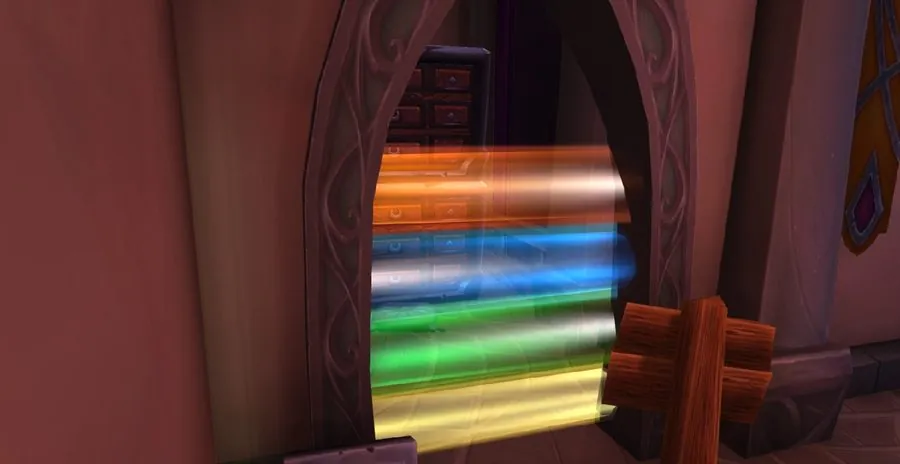
Four withered elves around the city control the beams, and their initials match the colours: Rikei (red, 71.8, 62.5), Blom'an (blue, 46.8, 28.6), Giluzui (green, 19.9, 46.3) and Yorilan (yellow, 43.5, 81.8). A withered only turns hostile for someone wearing the matching monocle. Bring one to almost no health and it starts casting Draw Energy, which switches off its beam for a moment.
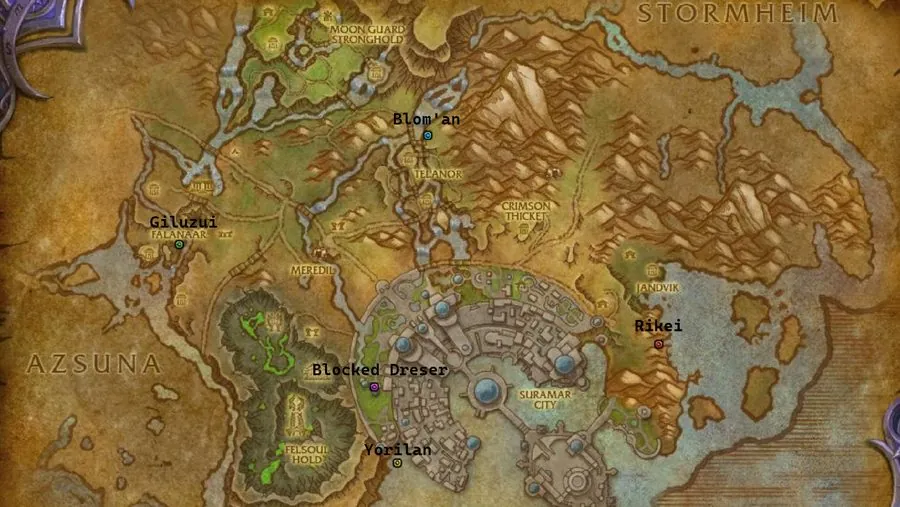
Put one player at each withered with the right monocle and the fifth at the drawer. When all four casts overlap, every beam drops at once and the fifth player has a few seconds to dash inside.
The Lost Cat Toy and the kitten code
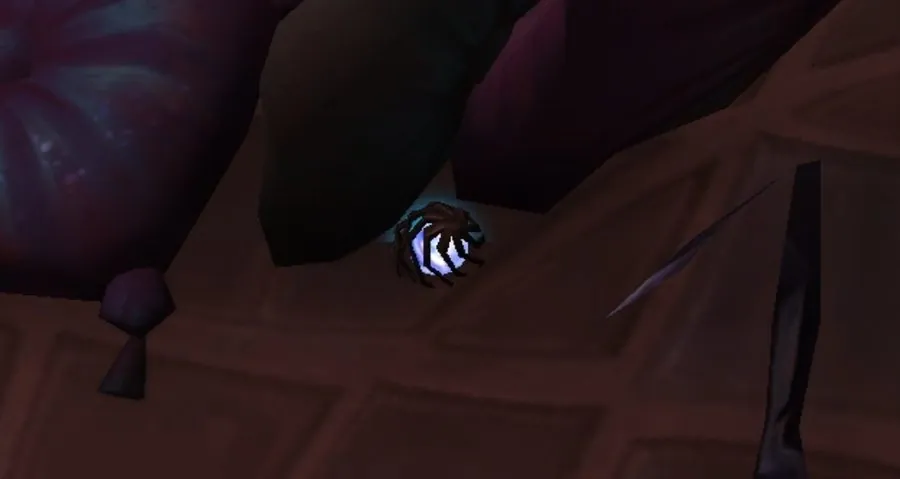
Inside the room, half hidden by pillows, is a Lost Cat Toy. Only the player who ran in should click it. It throws them out of the room and hits them for a random amount of damage. That number is your group's code, and it must include any absorbed and overkill damage. Take 12,345 plus 11,111 overkill and your code is 23,456.
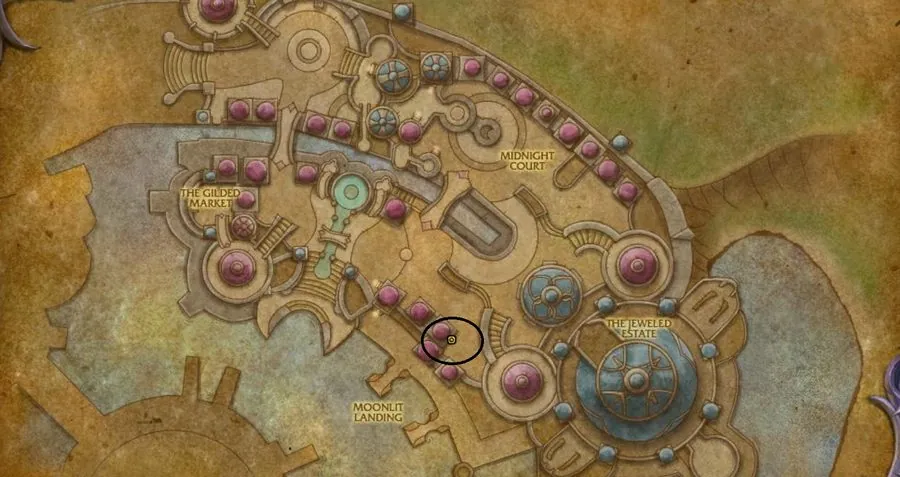
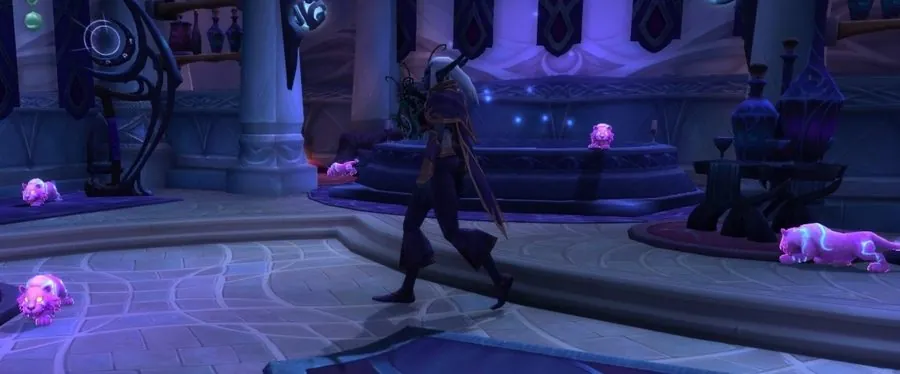
Take the code to Lady Chaton's kittens in the Court of Stars (50, 69). Each digit belongs to one kitten, in this order: Mrs. Fluffymuffins, Shadow, Mew, Ash, Bella. The digit is how many times that kitten has to be petted. Pad short numbers with leading zeroes (1,234 becomes 01234) and skip any kitten with a zero.
Each pet adds a 15-second Purring stack, and every kitten has to have exactly the right number of stacks at the same moment. Give each player one kitten and pet together. Too many stacks, or one falling off, gets you scratched and you start again. When it works, the kittens summon an Ominous Orb that only talisman wearers can see. Click it.
The floating platforms
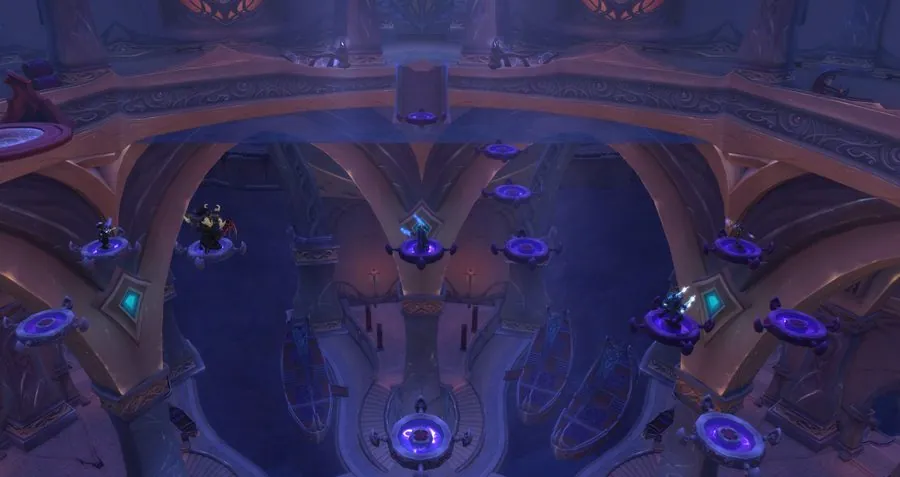
The orb takes you to a tower with a gap crossed by phasing platforms. A platform only stays up while someone is standing on it or a linked platform keeps it alive, so the five of you have to move in a fixed order. Label yourselves Players 1 to 5 and have one person call out the sequence:
Show the full movement sequence
1 up · 2 up (onto the new platform by the middle one) · 1 up · 2 up · 3 up left · 2 left
1 right right · 4 up up up · 2 left up · 5 up up · 3 up · 5 down left · 3 left left
2 right · 5 reset, then up on the right platform · 1 right up · 4 right · 5 up
4 up up left · 2 up · 4 up · 1 up · 4 right · 2 right
5 reset, then up on the left platform, then up · 1 right · 5 up up right · 2 up left
5 left up · 2 up · 4 right · 2 up · 4 up
3 reset, then up on the right platform, then up up up up · 1 up left · 5 up · 1 up
5 right right right · 4 left · 1 up · 5 up · 2 up left · 5 up · 4 up · 3 left
1 right up · 2 left · 5 up · 4 right · 1 left · 4 up
3 reset, then up on the left platform, then up up up up · 5 right · 3 up up · 2 up · 1 up
3 up right up · everyone leaves the platforms
Then drop to the floor and gather by the door. It only opens with all five of you close by.
The arcane lava
Behind the door is a pool of arcane lava and a floating black disc, the Lightlock. Only certain groups of players can cross on it together. Pick one player to ride the disc for the whole puzzle (A). Then find a player who can cross with A as a pair (B), and by trial and error the third player who completes a working trio with A and B (C). The last two are D and E.
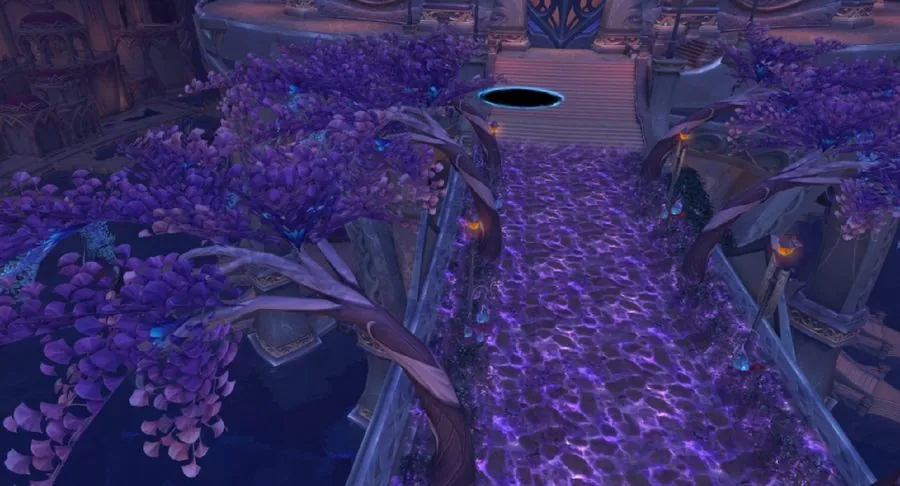
- A, B and C cross together.
- C stays on the far side; A and B ride back.
- B gets off at the start; A takes D across.
- D stays; A brings C back to the start.
- B joins A and C and the three cross again.
- C stays; A and B ride back.
- B gets off; A takes E across.
- E stays; A brings C back.
- B joins A and C for the final crossing.
The ritual
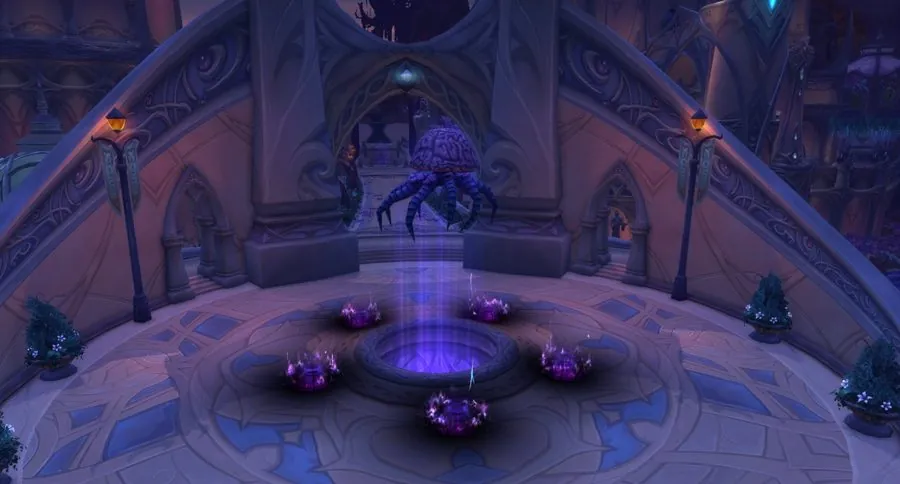
In the last chamber are five arcane pads around the Hivemind. Each player stands on a pad, someone clicks the Hivemind to start the channel, and when it finishes, all five of you get the mount.
Tips
- Write down the Lost Cat Toy damage straight away, absorbs and overkill included.
- Assign roles before you start: who takes which withered, which kitten, which platform number, who rides the disc.
- Voice chat makes the platform and lava steps far easier.
- TomTom helps with the many coordinates. A paste addon helps share codes and sequences in group chat.
Mira Duskwood is the pen name of the Lost WOW editorial team. Mira writes the secret walkthroughs and the history of the lost areas, and keeps them up to date when a patch changes something.
- How this guide was made. Every step was checked against at least two independent sources (Warcraft Wiki, Wowhead and Icy Veins), and against the patch notes for anything that changed over time.
- Last updated . When a patch moves a step or breaks a puzzle, the page is corrected and the date changes.
- Spotted a mistake? Tell us and it gets fixed. Read the editorial policy.