Lucid Nightmare: the Complete Puzzle Walkthrough
Released in patch 7.3, the Lucid Nightmare was the puzzle that made secret hunting a community sport. A trail of Inconspicuous Notes leads from Legion's Dalaran through raids and dungeons from four expansions, and every note only appears once you've solved the step before it.
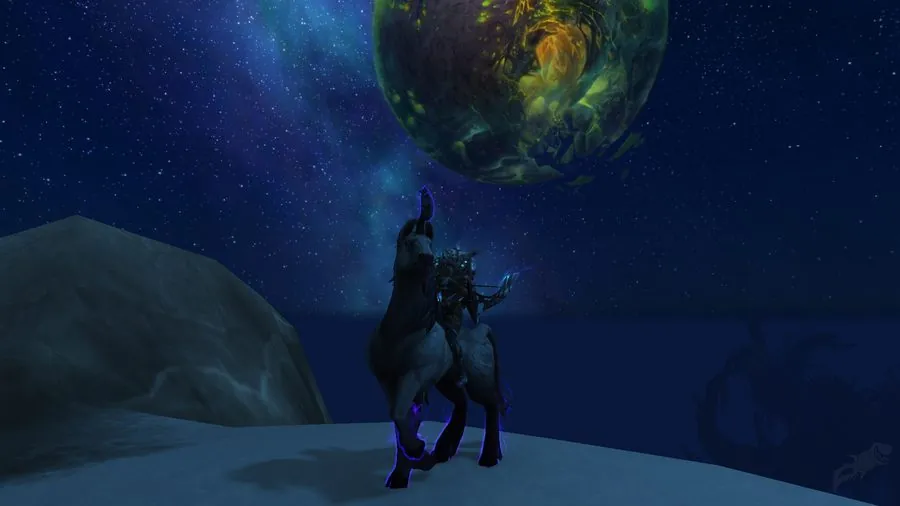
- TypeMount
- ExpansionLegion
You can log out between steps and pick up where you left off. The only exception is the maze in step seven, which has to be finished in one sitting.
Step 1: Dalaran
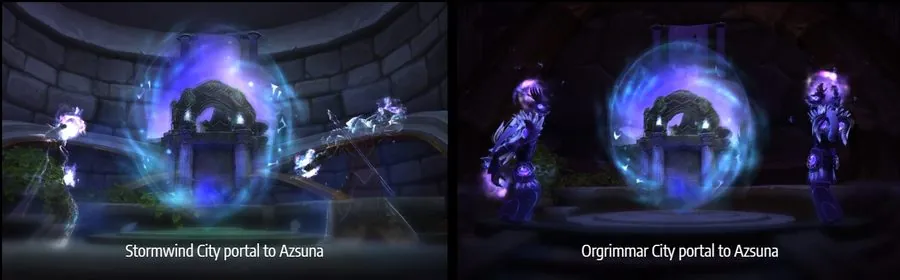
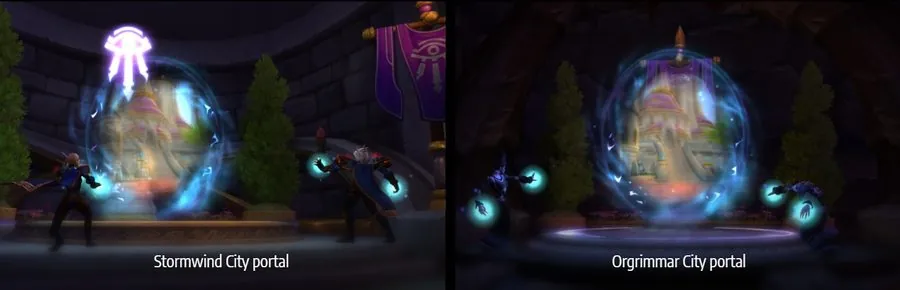
Use your Dalaran Hearthstone, or take the Azsuna portal from Stormwind or Orgrimmar and fly up to the floating city over the Broken Isles.
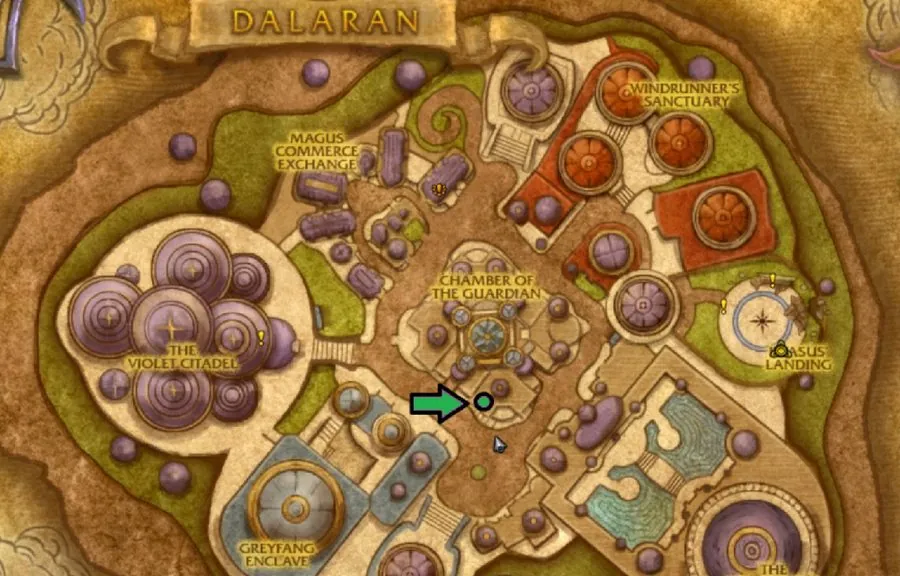
Go to Curiosities & Moore near the middle of the city and climb to the upper floor. The first Inconspicuous Note lies on a table right at the top of the stairs.
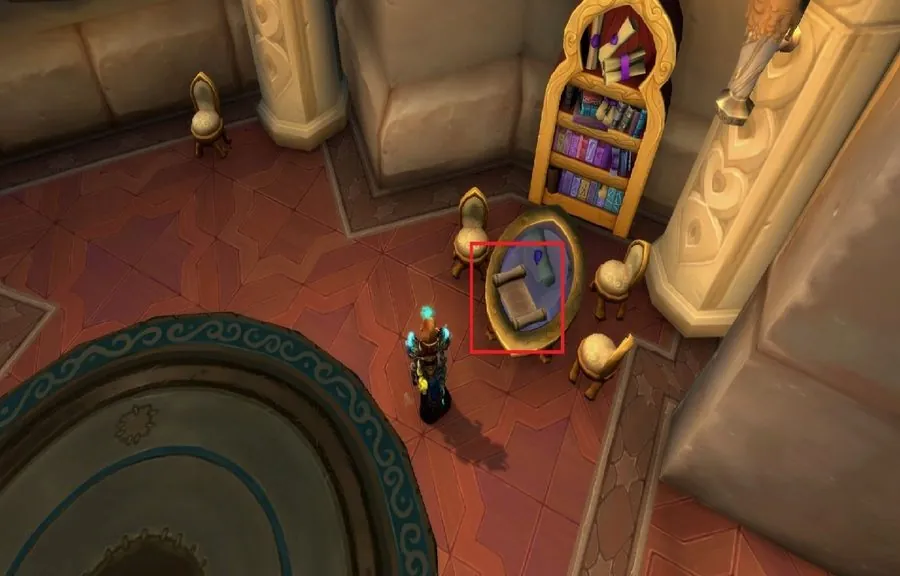
The note is an anagram of a date: 15 April 2009, the day Ulduar opened in Wrath of the Lich King.
Step 2: Ulduar and Mimiron's sigil
Take the portal to Crystalsong Forest from the Stormwind or Orgrimmar portal room and fly north to the Storm Peaks.
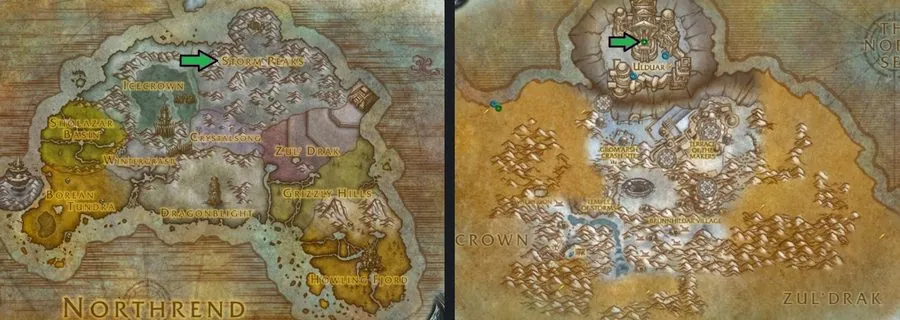
Inside the raid, you only need to beat the first boss to reach the scrapyard. Kill XT-002 Deconstructor and clear the room, then look for the Rusty Lever in the scrap heap in the north-western corner.
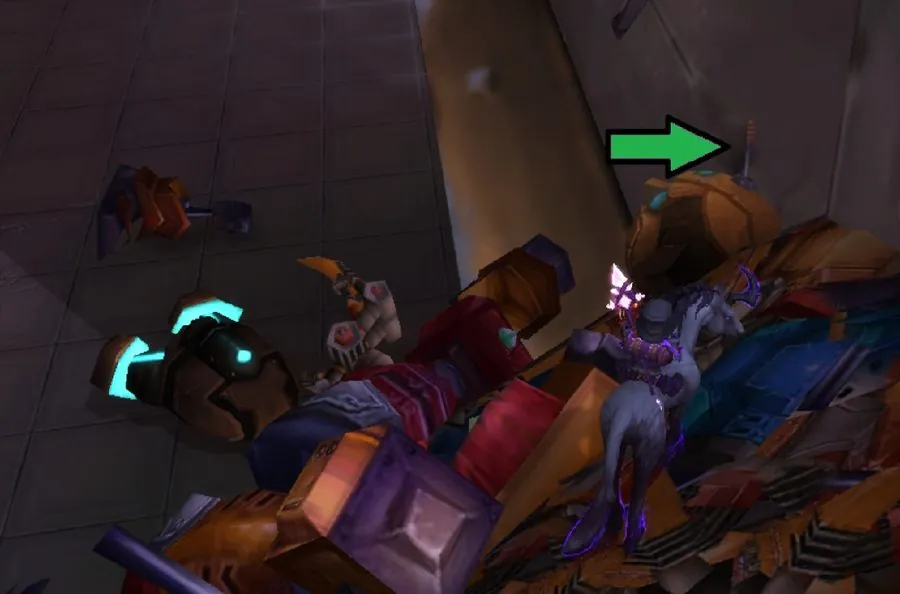
Pulling the lever spawns a 20 by 20 field of Scrapyard Lights. Clicking a light toggles it. Light up the pattern of Mimiron's sigil, which the first note called "the most pleasing sign".
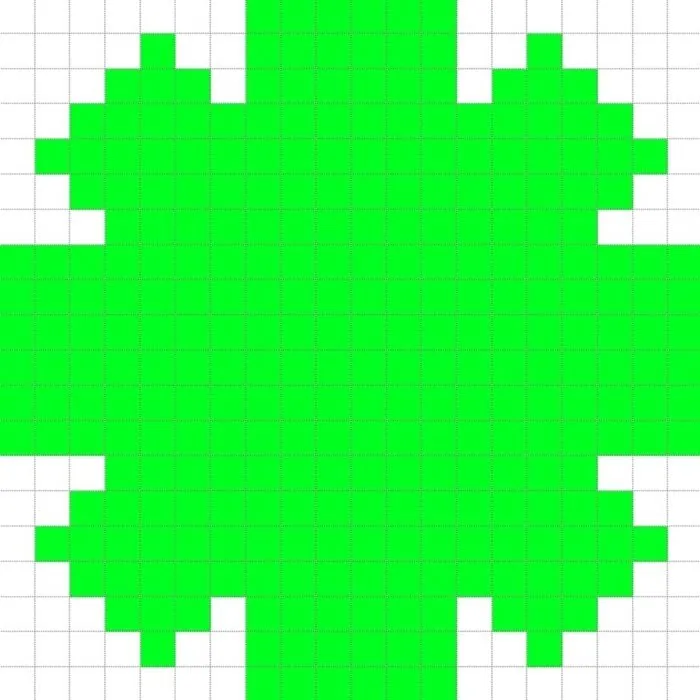
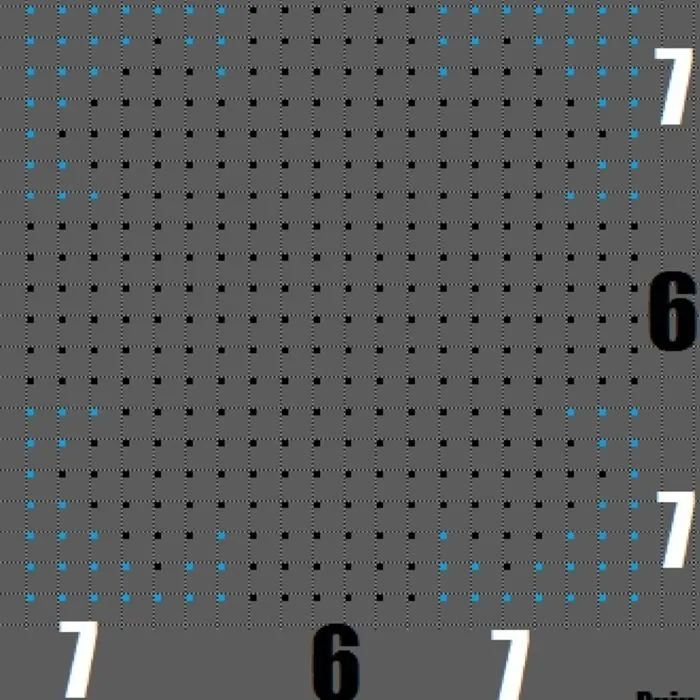
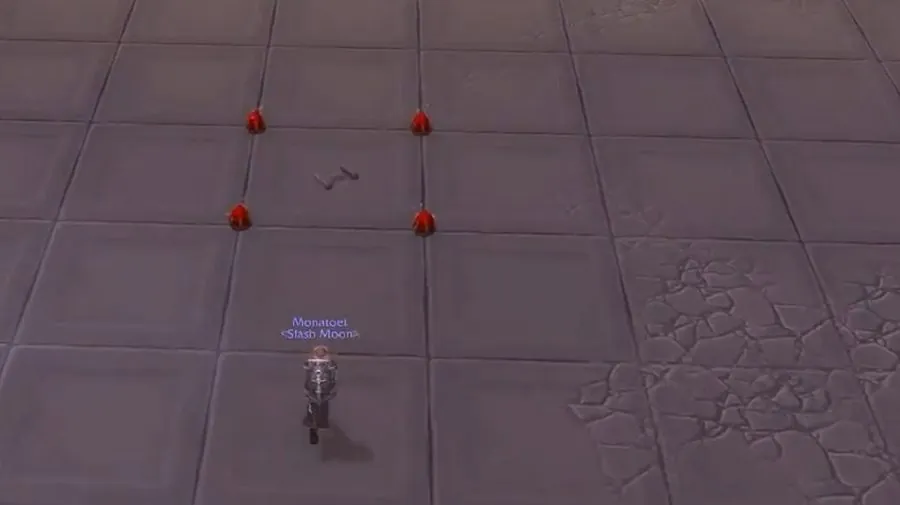
When the sigil is right, the green lights vanish and a new note appears between the four red lights left in the middle. It points to C'Thun.
Step 3: Ahn'Qiraj and the Mind Larva
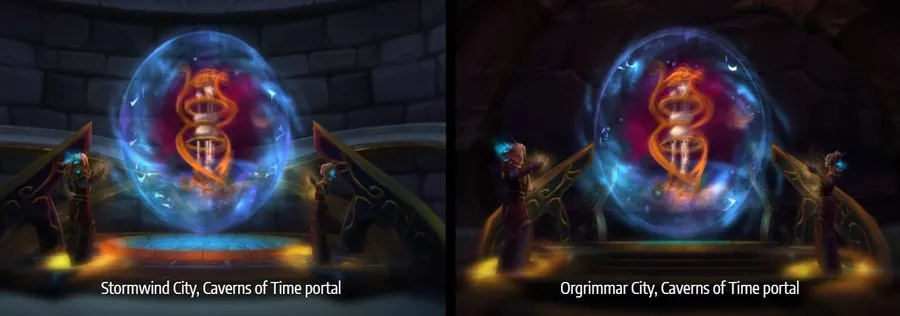
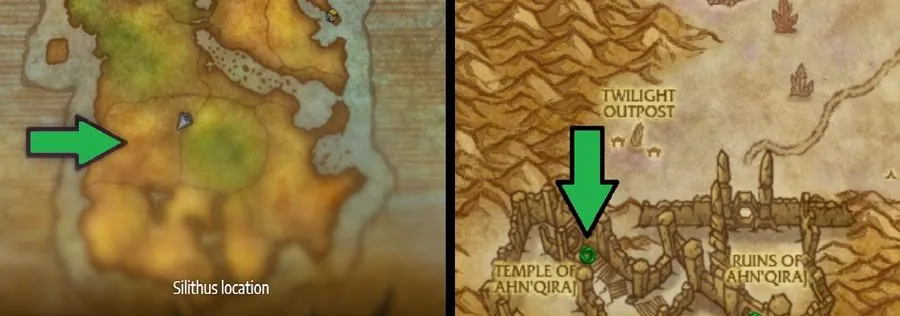
Take the Caverns of Time portal, then fly west to Silithus. The Temple of Ahn'Qiraj is in the far south of the zone.
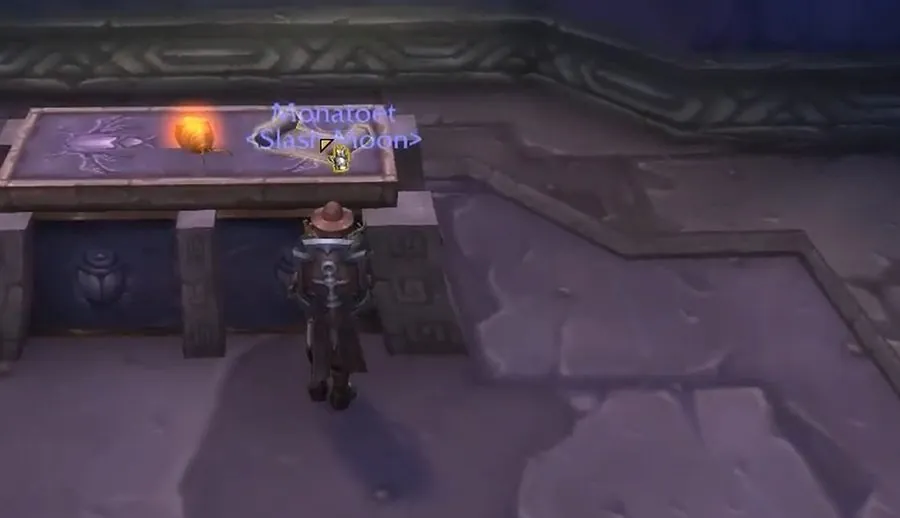
Work through the raid toward C'Thun. You can skip Viscidus, who has to be frozen before he can die. You don't need to kill C'Thun either: just before his chamber, take the corridor on the left and climb the stairs. A Mind Larva sits on a purple coffin at the top.
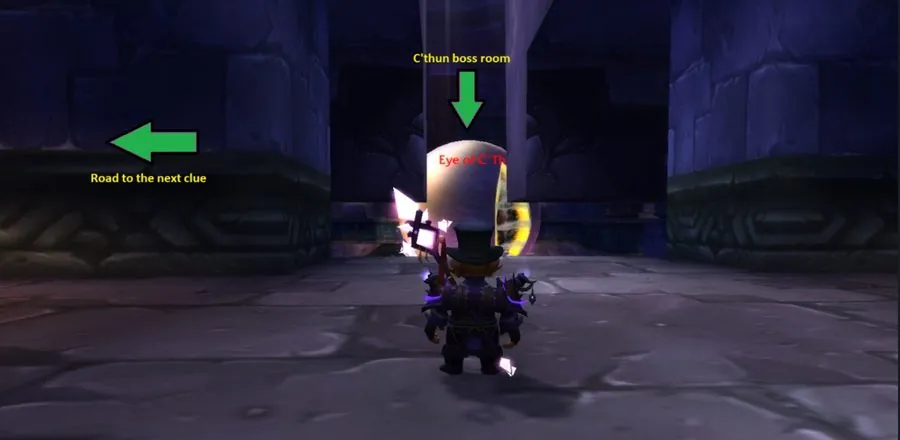
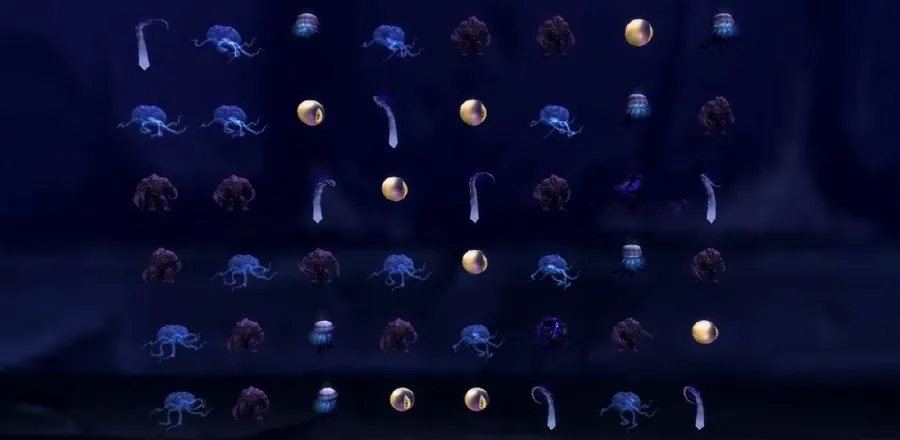
Clicking it opens a match-three game played with void symbols. Every player gets a different board. Keep making matches until the board clears, or line up five brains in a row, which usually ends it sooner.
Step 4: Deepholm and the Strange Skull
Before you go, get a Shadoweave Mask. It's an old Tailoring craft and almost always cheap on the Auction House. Then take the Deepholm portal and head north to the Crumbling Depths entrance at 58.2, 25.5.
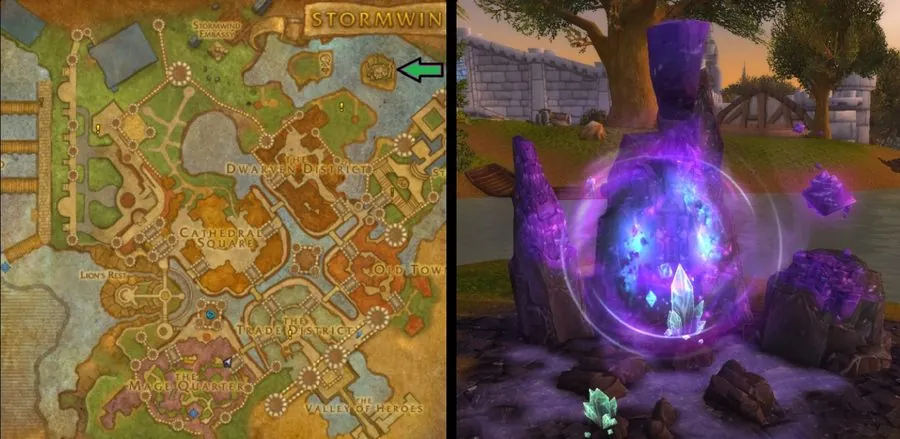
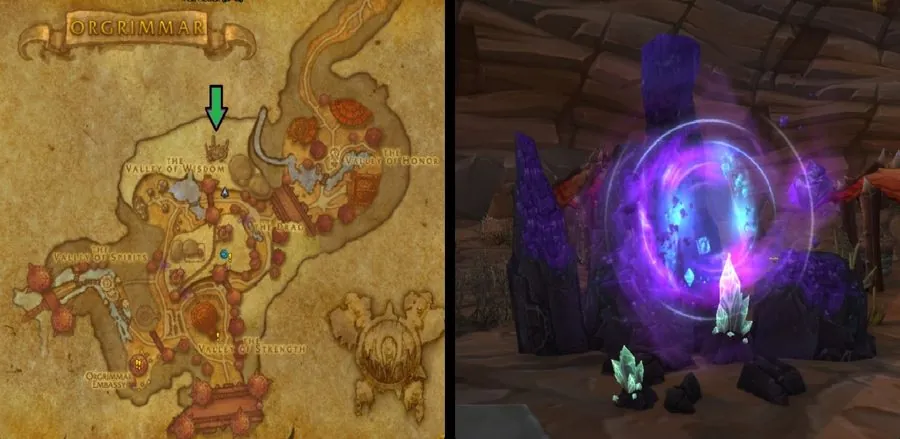
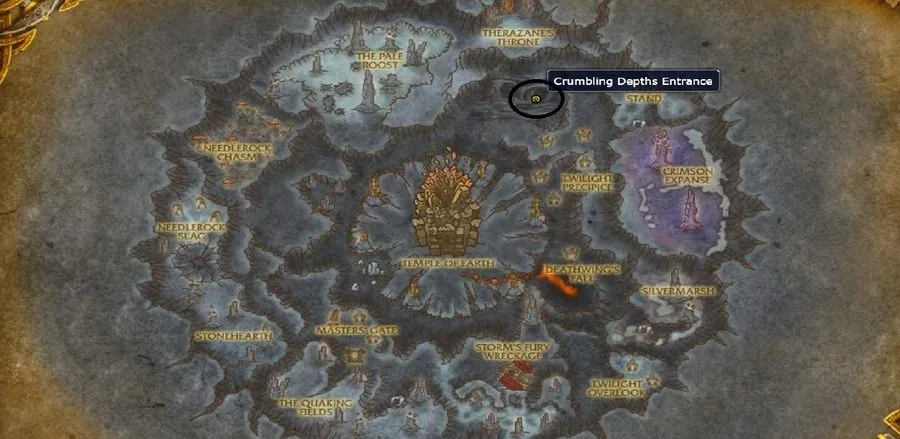
A Colossal Gyreworm circles the tunnel and sends anyone it eats back to the entrance. Follow right behind it, using any speed boost you have. There's a safe spot partway round where you can wait for it to pass again.
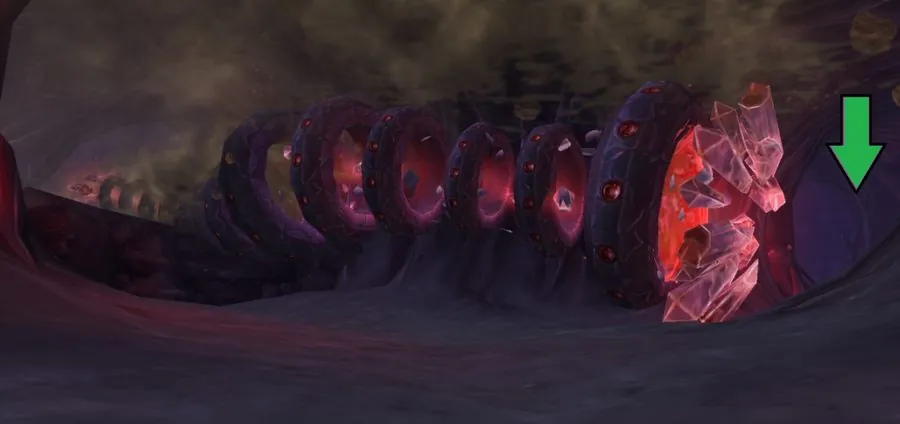
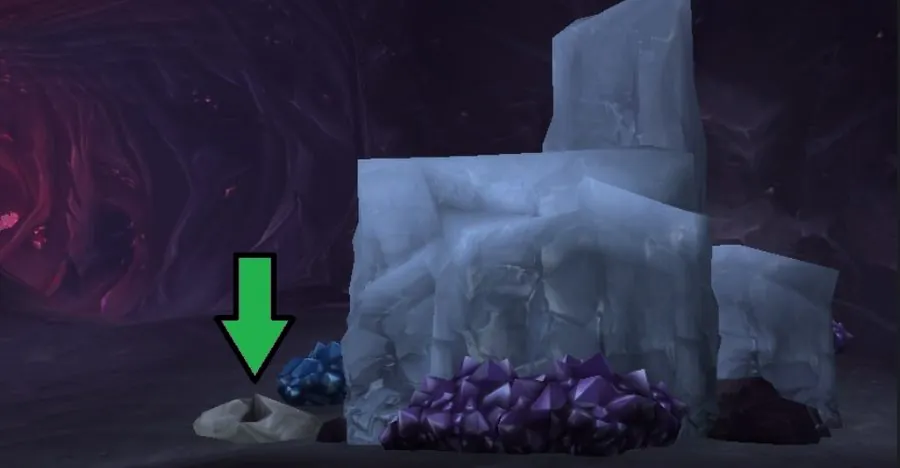
In the room behind the big white crystal (63.8, 22.5) is a crack in the floor, the Dark Fissure. Put on the Shadoweave Mask, click the fissure and choose to drop in.
You land in a hidden room with a single chair and a Strange Skull on it. Click the skull, read the plaque behind the chair, then take the note that appears. The plaque's anagram names the goblin Racksum Greep, and the note points to a rare in Gnomeregan, the Dark Iron Ambassador.
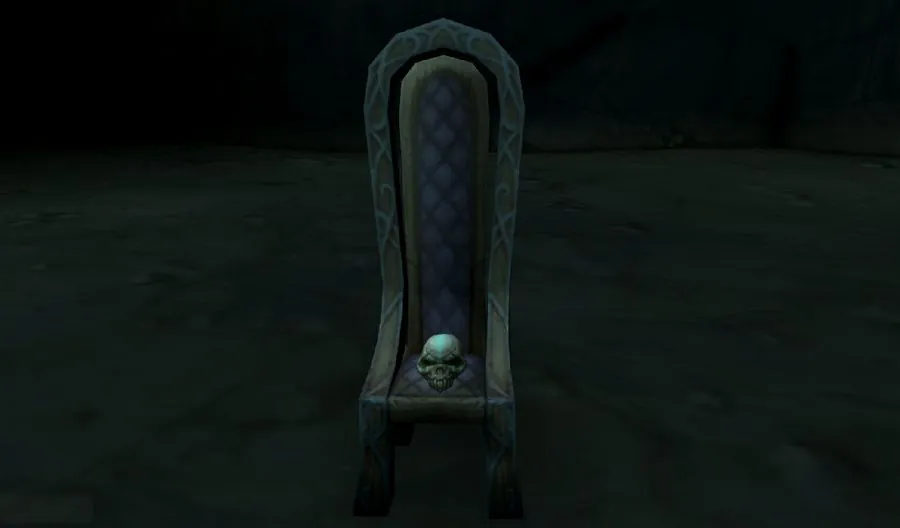
Step 5: Gnomeregan's numerical consoles
Alliance players can take the Deeprun Tram or fly to Dun Morogh. Horde players have a longer trip, by boat from Ratchet to Booty Bay, or through Silvermoon, then on to Dun Morogh.
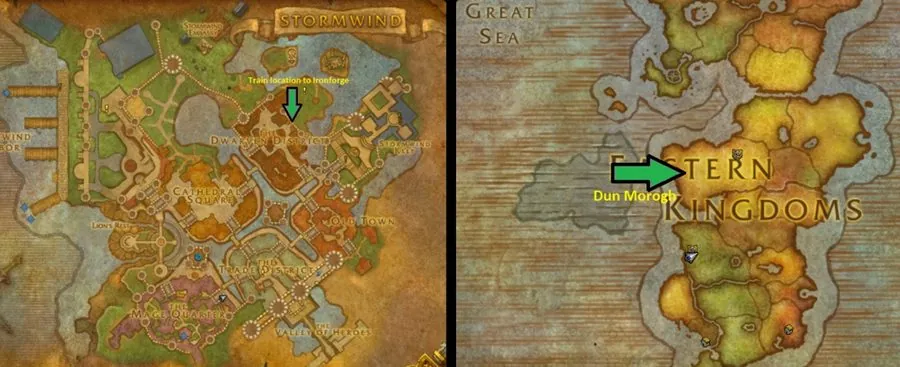
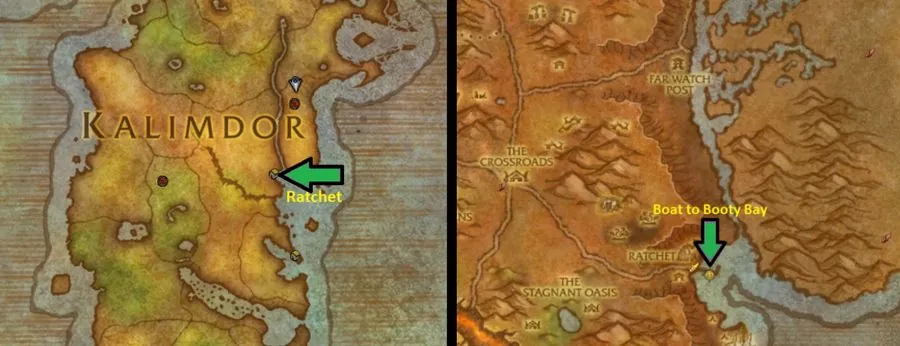
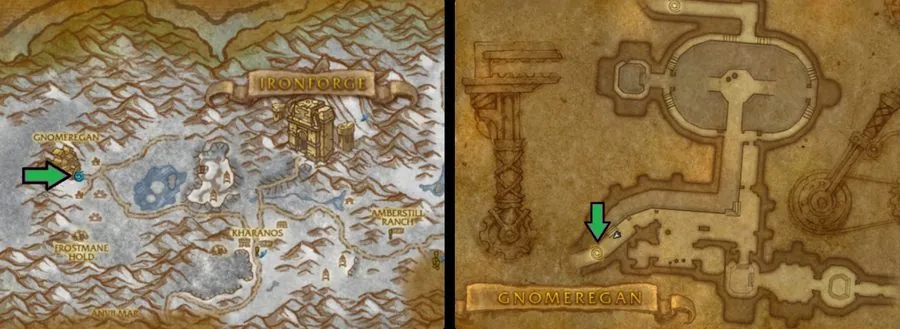
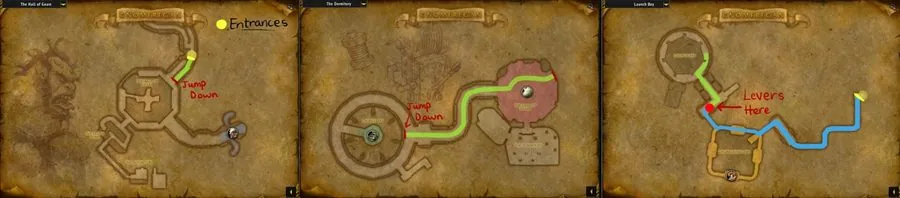
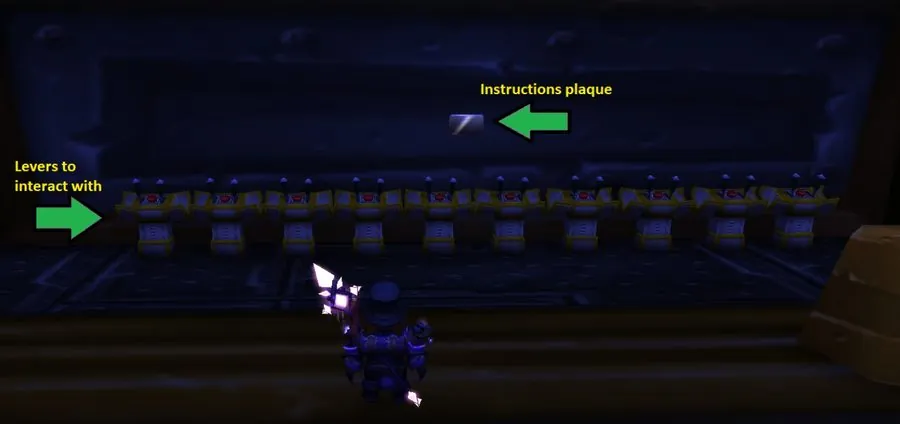
Inside, drop down to Viscous Fallout's level and follow the long corridor to the Launch Bay. You can leave the Electrocutioner 6000 alone. Drop to the lower level and take the south-eastern hallway: at its end, on the right, is a row of ten levers called the Numerical Console (35.7, 54.2 on the Launch Bay map).
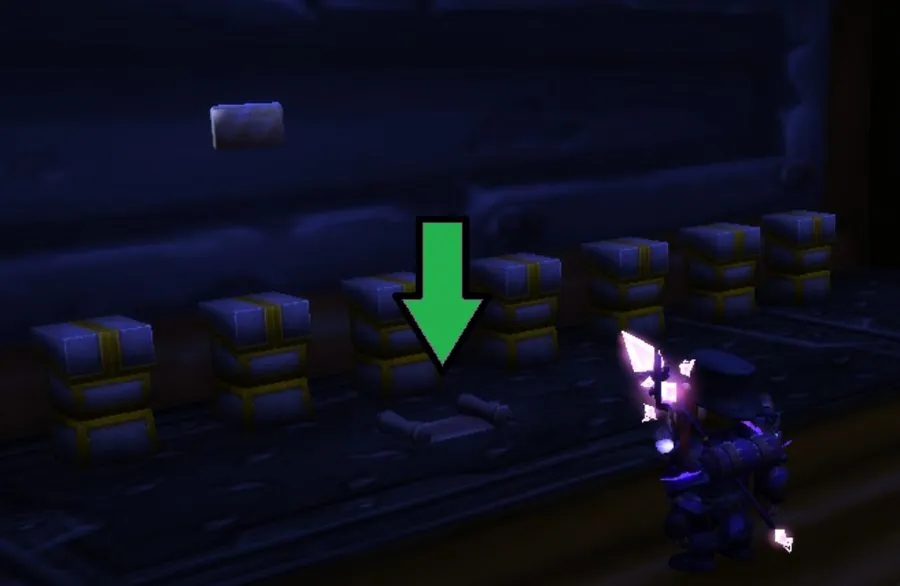
The Instructions plaque above the levers shows a binary string that decodes to 1-2-2-2-1-7-6-5-9-7. Click each lever from left to right and push it up or down until it shows the matching digit.
Step 6: Val'sharah and Eyecraft
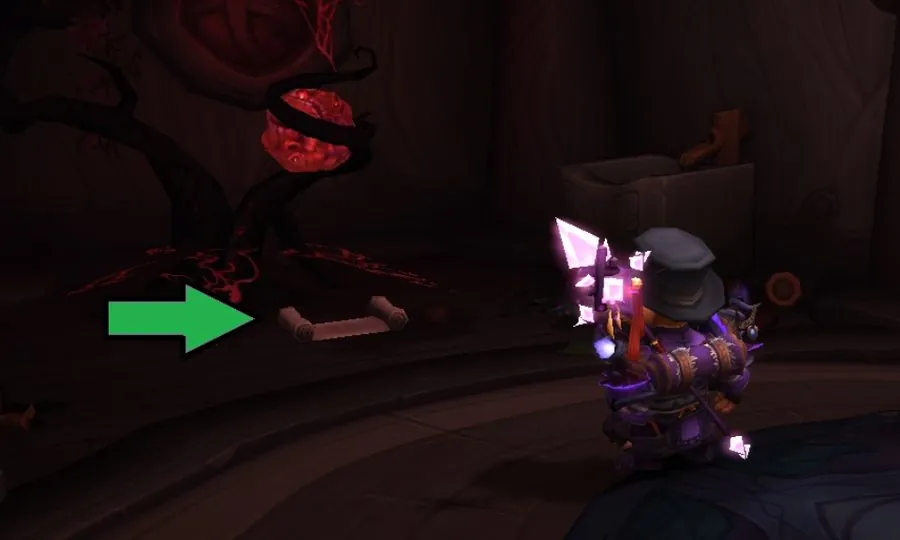
Head back to the Broken Isles and fly to Val'sharah, near the Darkheart Thicket entrance (66.5, 36.5). In a small house with a purple roof, often patrolled by the rare Wraithtalon, there's a Nightmare Tumor on the left.
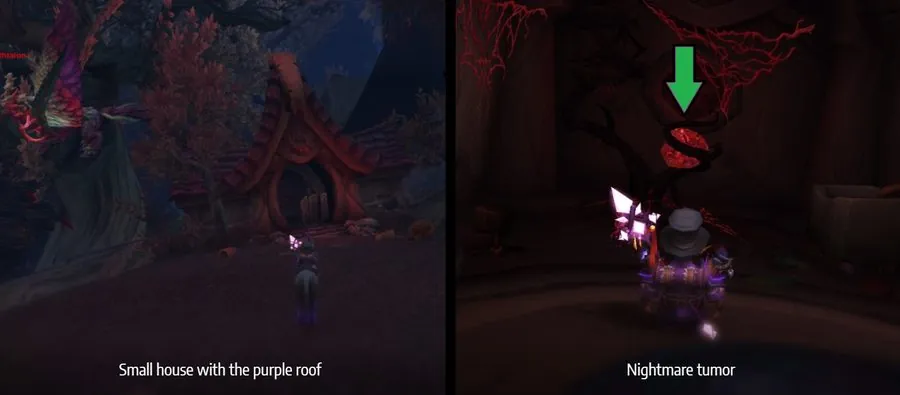
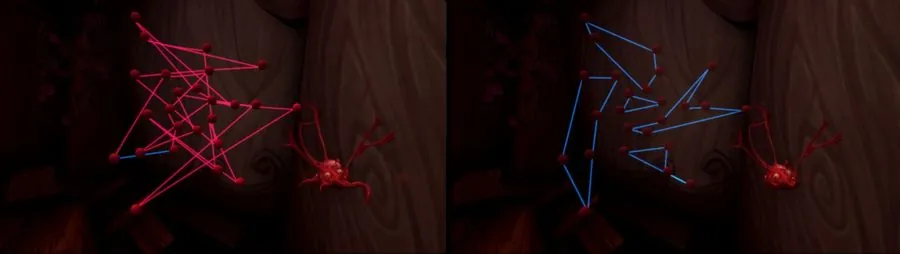
Clicking it starts "Eyecraft", an untangling puzzle. Swap red nodes two at a time until no lines cross. Lines turn blue once they're untangled. Every layout is different, and some take a while.
Step 7: the Endless Halls
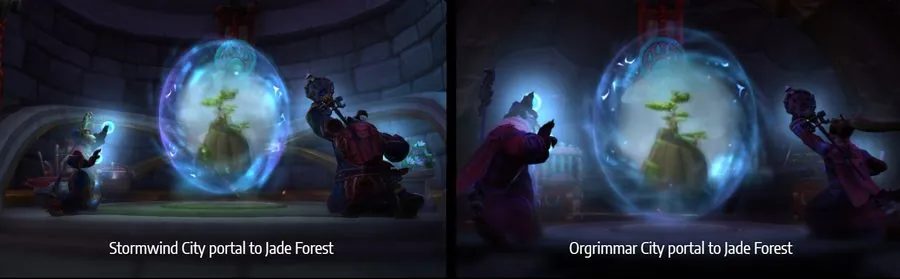
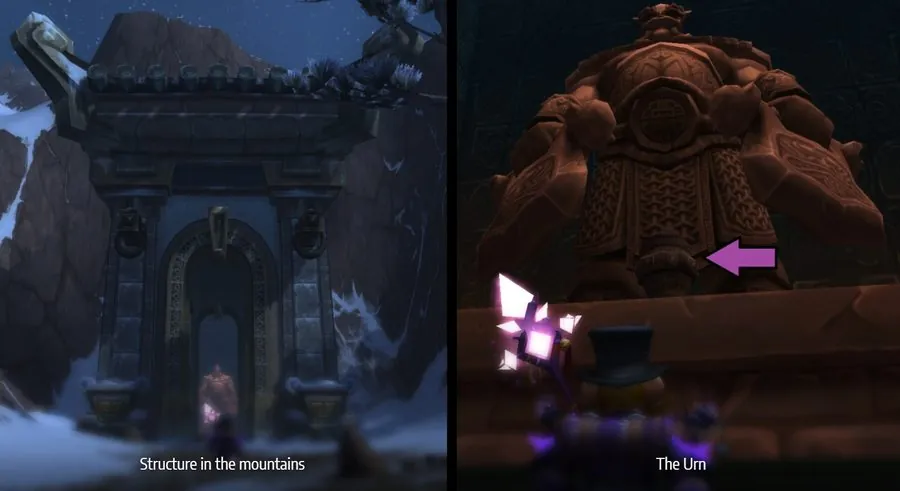
The last puzzle is the hardest. Take the Jade Forest portal and fly to the Tomb of Secrets in Kun-Lai Summit (53.4, 49.0).
At the foot of the statue is an Urn. Choose to consume the ashes and accept the warning, and you're pulled into the Endless Halls.
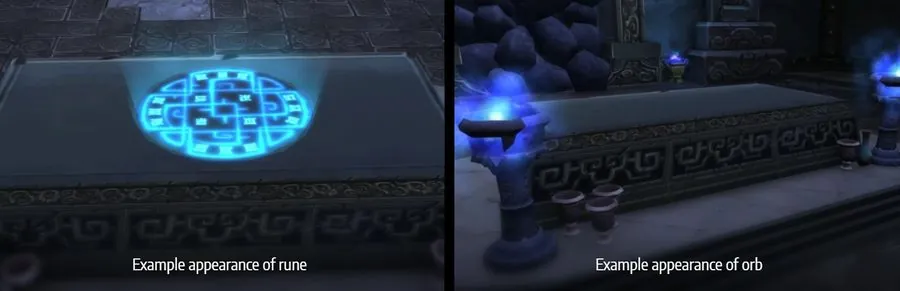
The Halls are a grid of near-identical rooms that wrap around at the edges. Five coloured orbs and five matching runes are scattered through them. Pick up an orb, carry it to the room with the rune of the same colour and drop it on the rune. You can only carry one orb at a time. Draw a map as you go and mark where each rune and orb sits, because the rooms are easy to confuse. Logging out resets the whole maze.
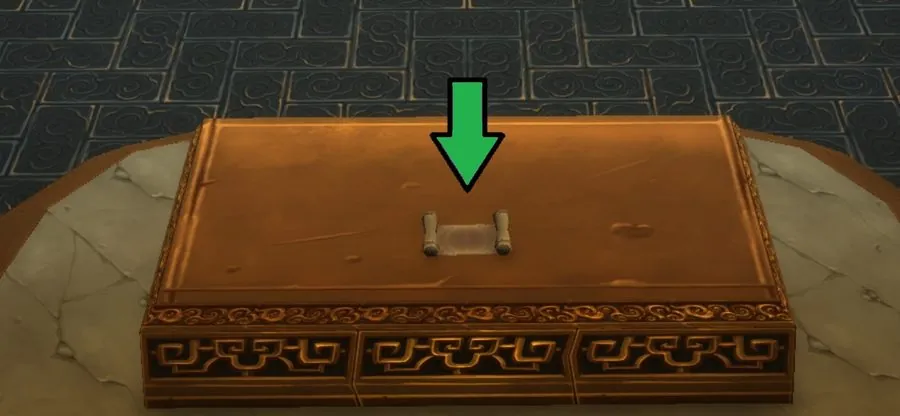
When the last orb is placed, walk through any doorway. You'll be moved to a final chamber with the last note on the altar. It points to the crypts beneath Karazhan.
The reward: the Forgotten Crypt
Fly to Deadwind Pass and enter the Forgotten Crypt behind Karazhan at 39.9, 73.9. The wooden gate that used to block the deeper crypts is now gone.
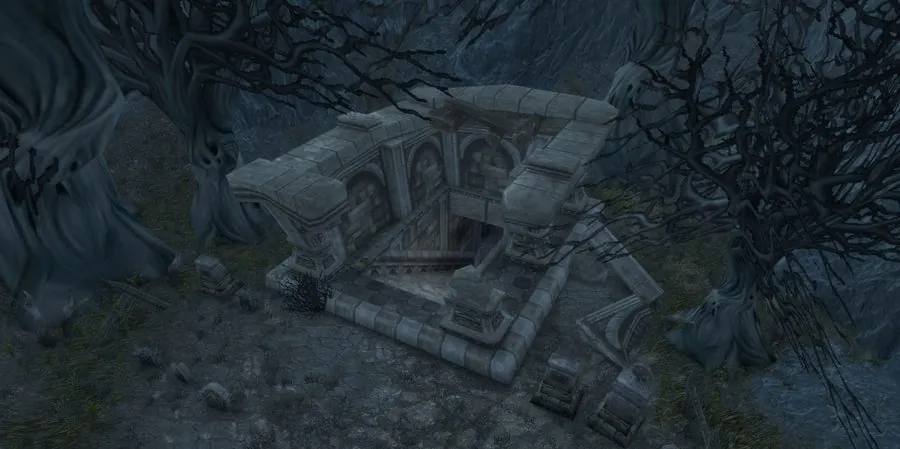
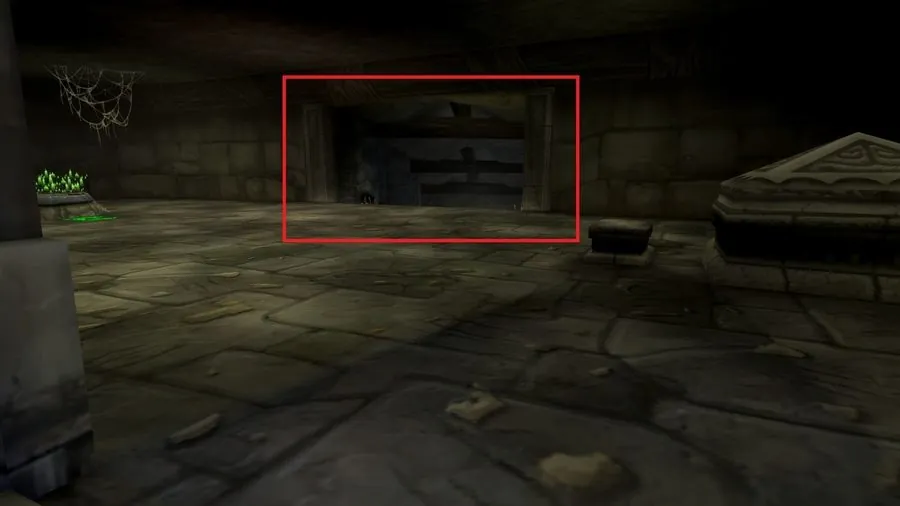
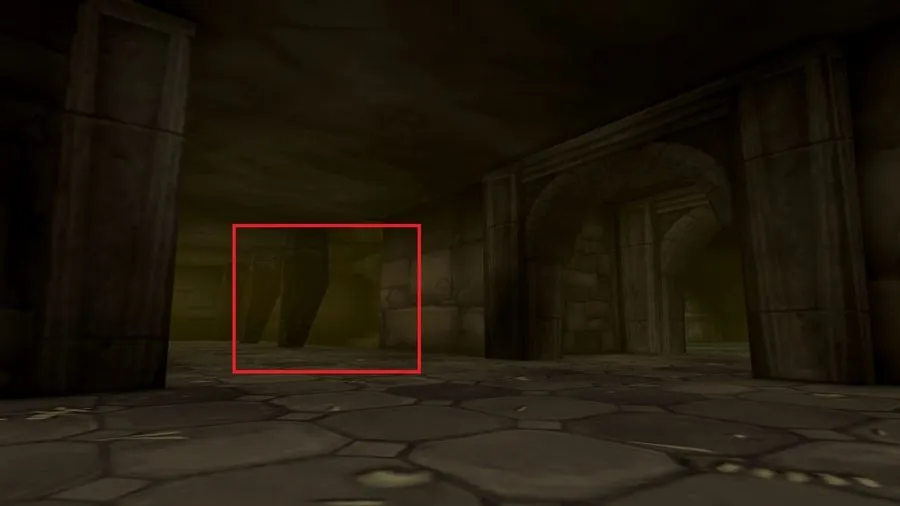
The crypt is a maze of its own. Follow the route below. If you can't find the passage in the fifth picture, turn around as soon as you enter the water in the fourth.
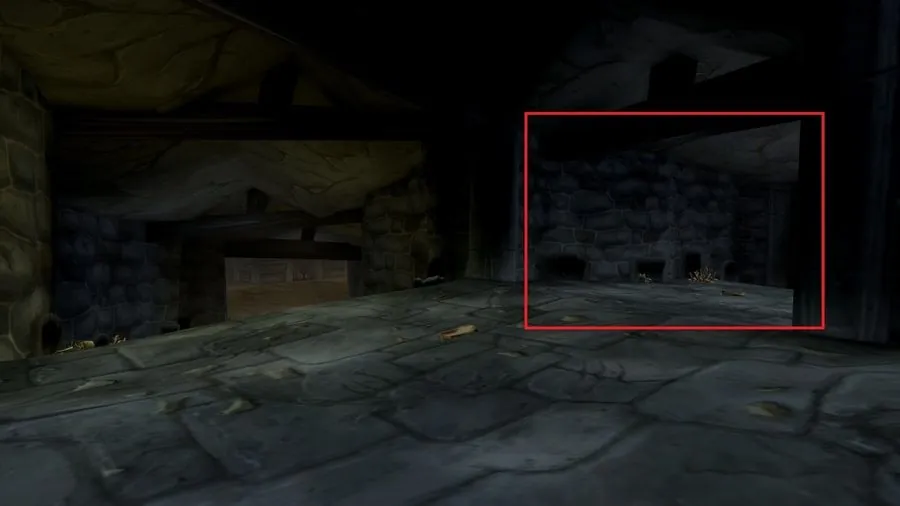
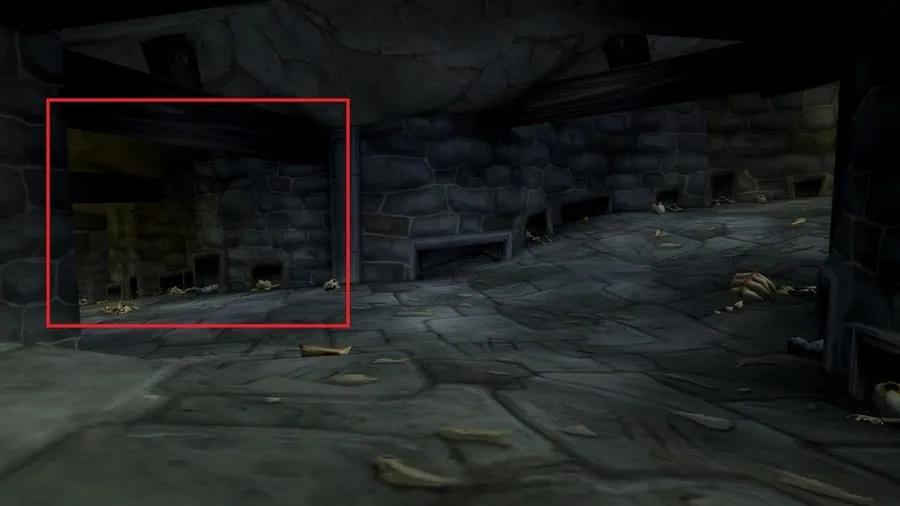
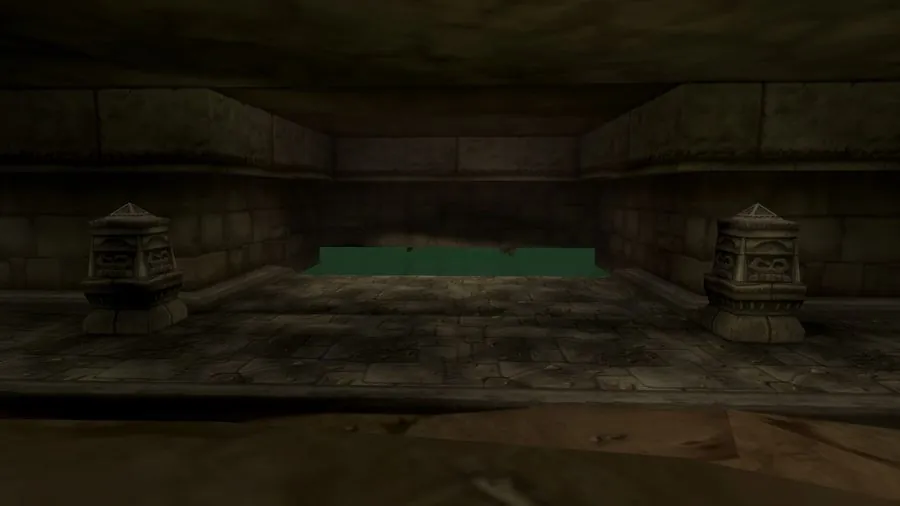
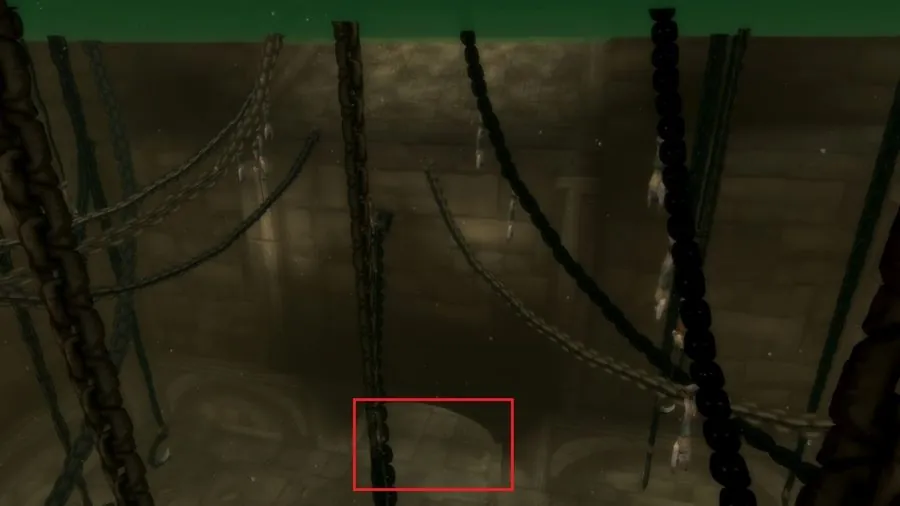
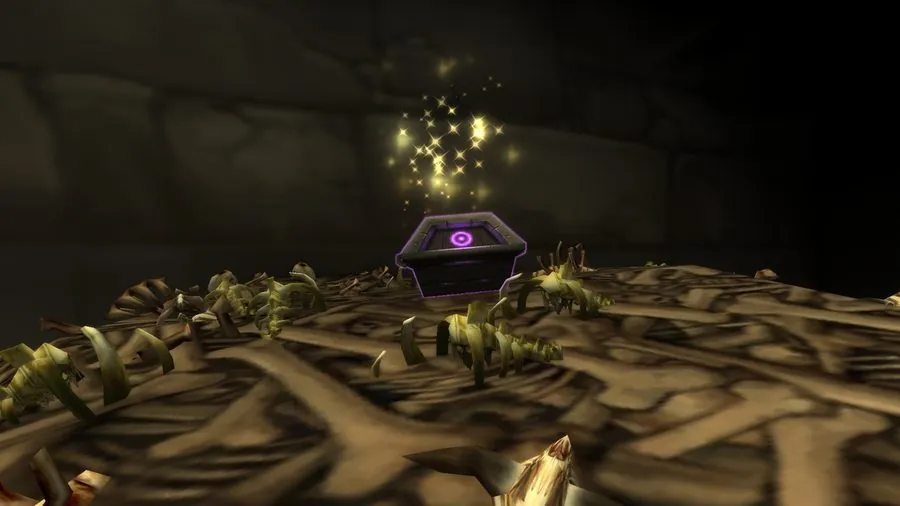
In the Pit of Criminals, climb the huge pile of bones in the far corner. At the top is the Puzzler's Desire. Loot it and the Lucid Nightmare is yours.
Handy addons
- TomTom for the coordinates in older zones.
- Lucid Nightmare Helper, made for the Endless Halls. It doesn't always work on newer clients, but it's worth a try.
Mira Duskwood is the pen name of the Lost WOW editorial team. Mira writes the secret walkthroughs and the history of the lost areas, and keeps them up to date when a patch changes something.
- How this guide was made. Every step was checked against at least two independent sources (Warcraft Wiki, Wowhead and Icy Veins), and against the patch notes for anything that changed over time.
- Last updated . When a patch moves a step or breaks a puzzle, the page is corrected and the date changes.
- Spotted a mistake? Tell us and it gets fixed. Read the editorial policy.